These ideas run from a ring balanced on a mirror to a toss in the air, so the effort runs from a wiped-down surface and one quick frame to a burst of shots you mostly throw away.
Your ring decides which one fits: a large halo oval rewards a tight close-up of the ring details, while a plain band reads better as a silhouette or a flat lay with the ring box.
Light matters just as much as the pose, and a phone in window light handles most of these.
1. Hand-in-Hand
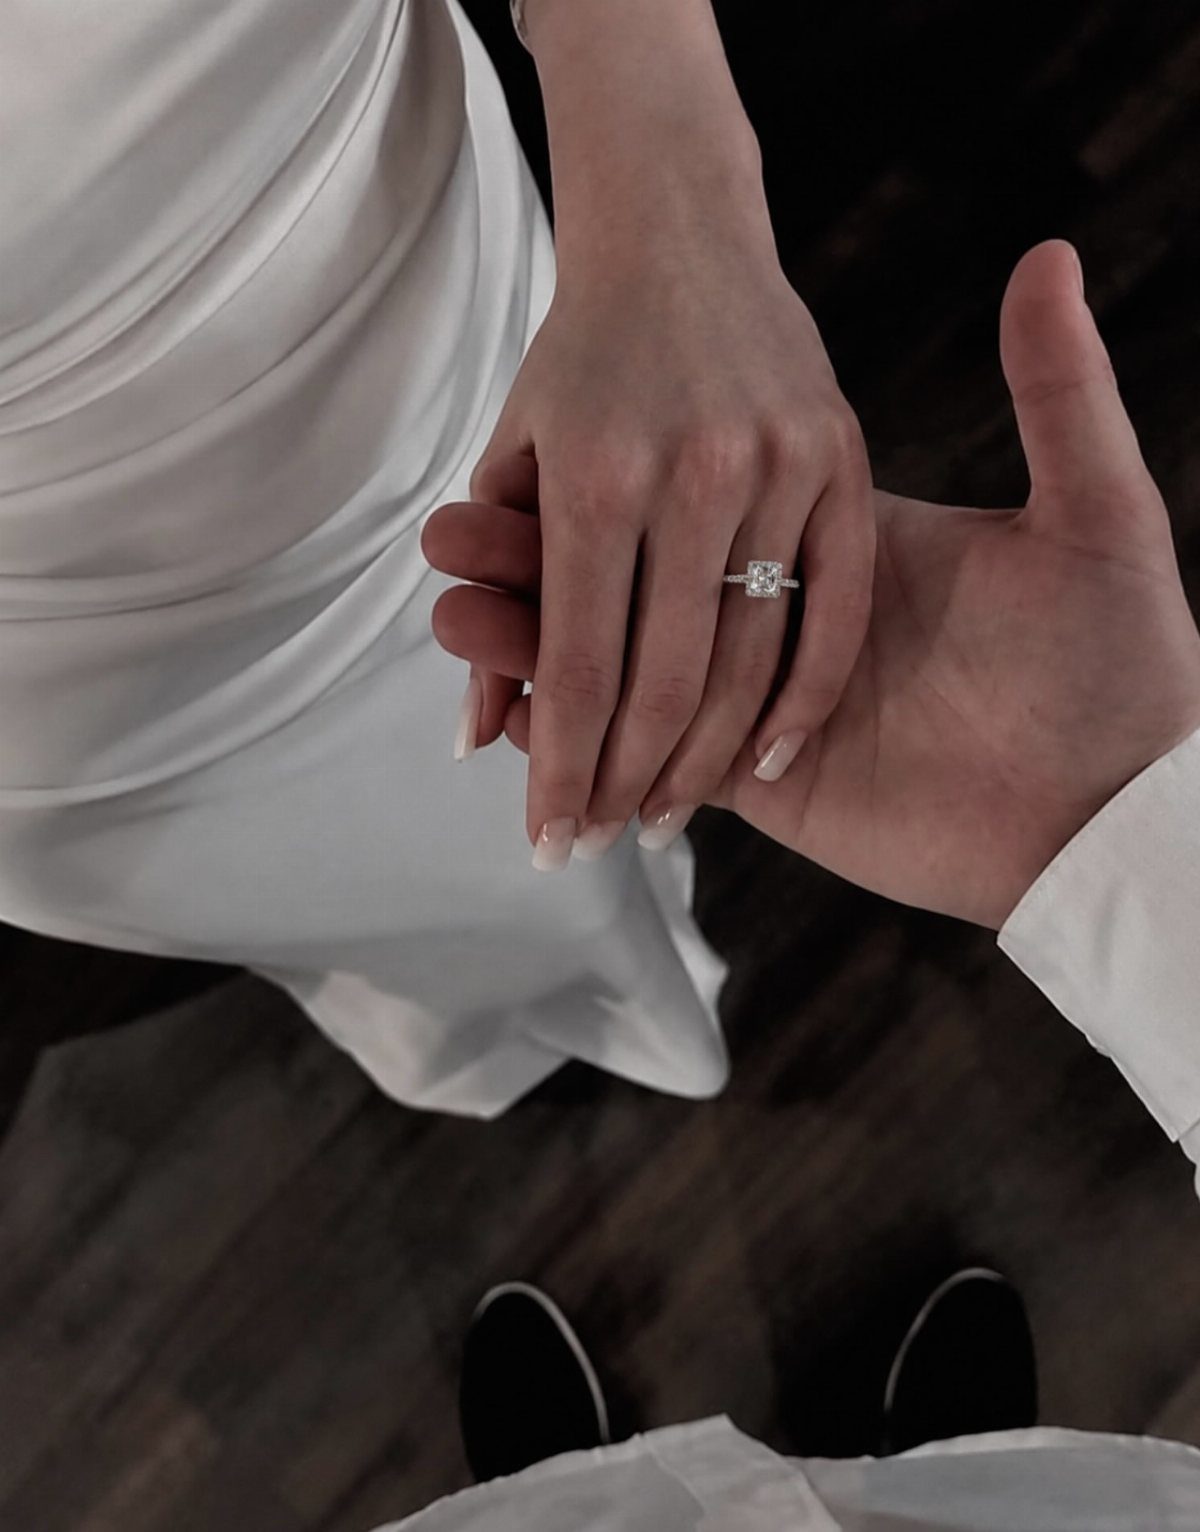
Keep the frame tight on the hands so the diamond has nothing competing with it.
Let the ring hand rest on top and relax the fingers, since a stiff grip pulls attention away from the stone. Shoot a handful of shots while you walk or sway, because a held pose tends to look stiff.
2. Ring on a Mirror
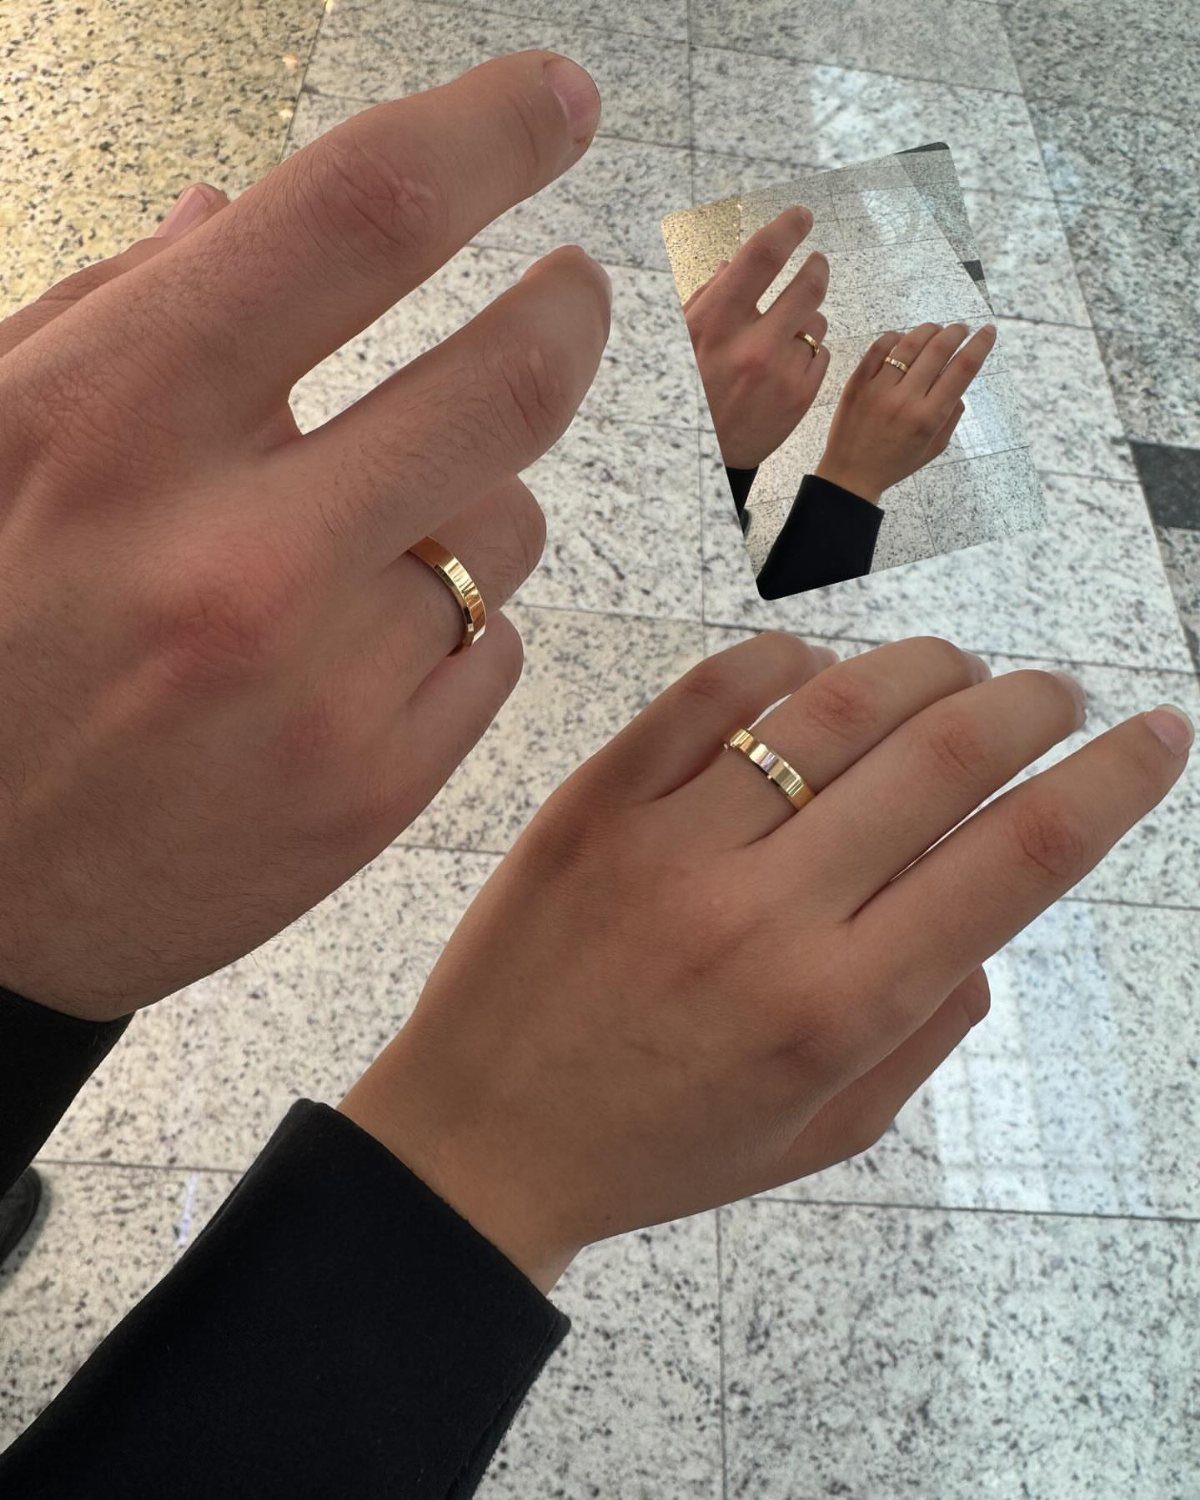
A small mirror laid flat on the floor gives you the rings twice: once in your hands, once in the reflection. Here the tile underneath adds pattern without stealing focus from the gold.
Hold both hands low and angle them so the reflection shows the ring’s face, not just the band.
Wipe the glass first, because dust and fingerprints show up in a close shot. A compact mirror is plenty for this.
3. Black and White Ring Shot
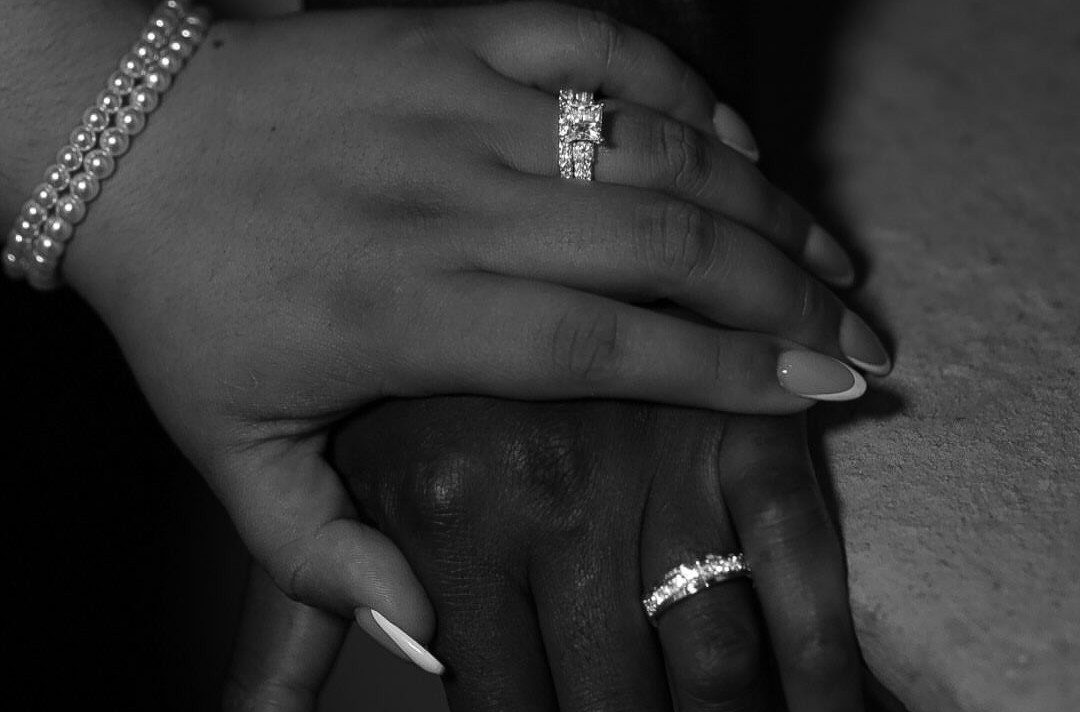
Converting a ring shot to black and white strips away color and leaves sparkle, texture and shape to carry the picture. With a large diamond and a diamond band, that works in your favor.
Shoot in color first, then convert, so you can compare both versions. A textured wall behind the hands adds interest that color would only distract from.
4. Silhouette of the Couple with the Ring
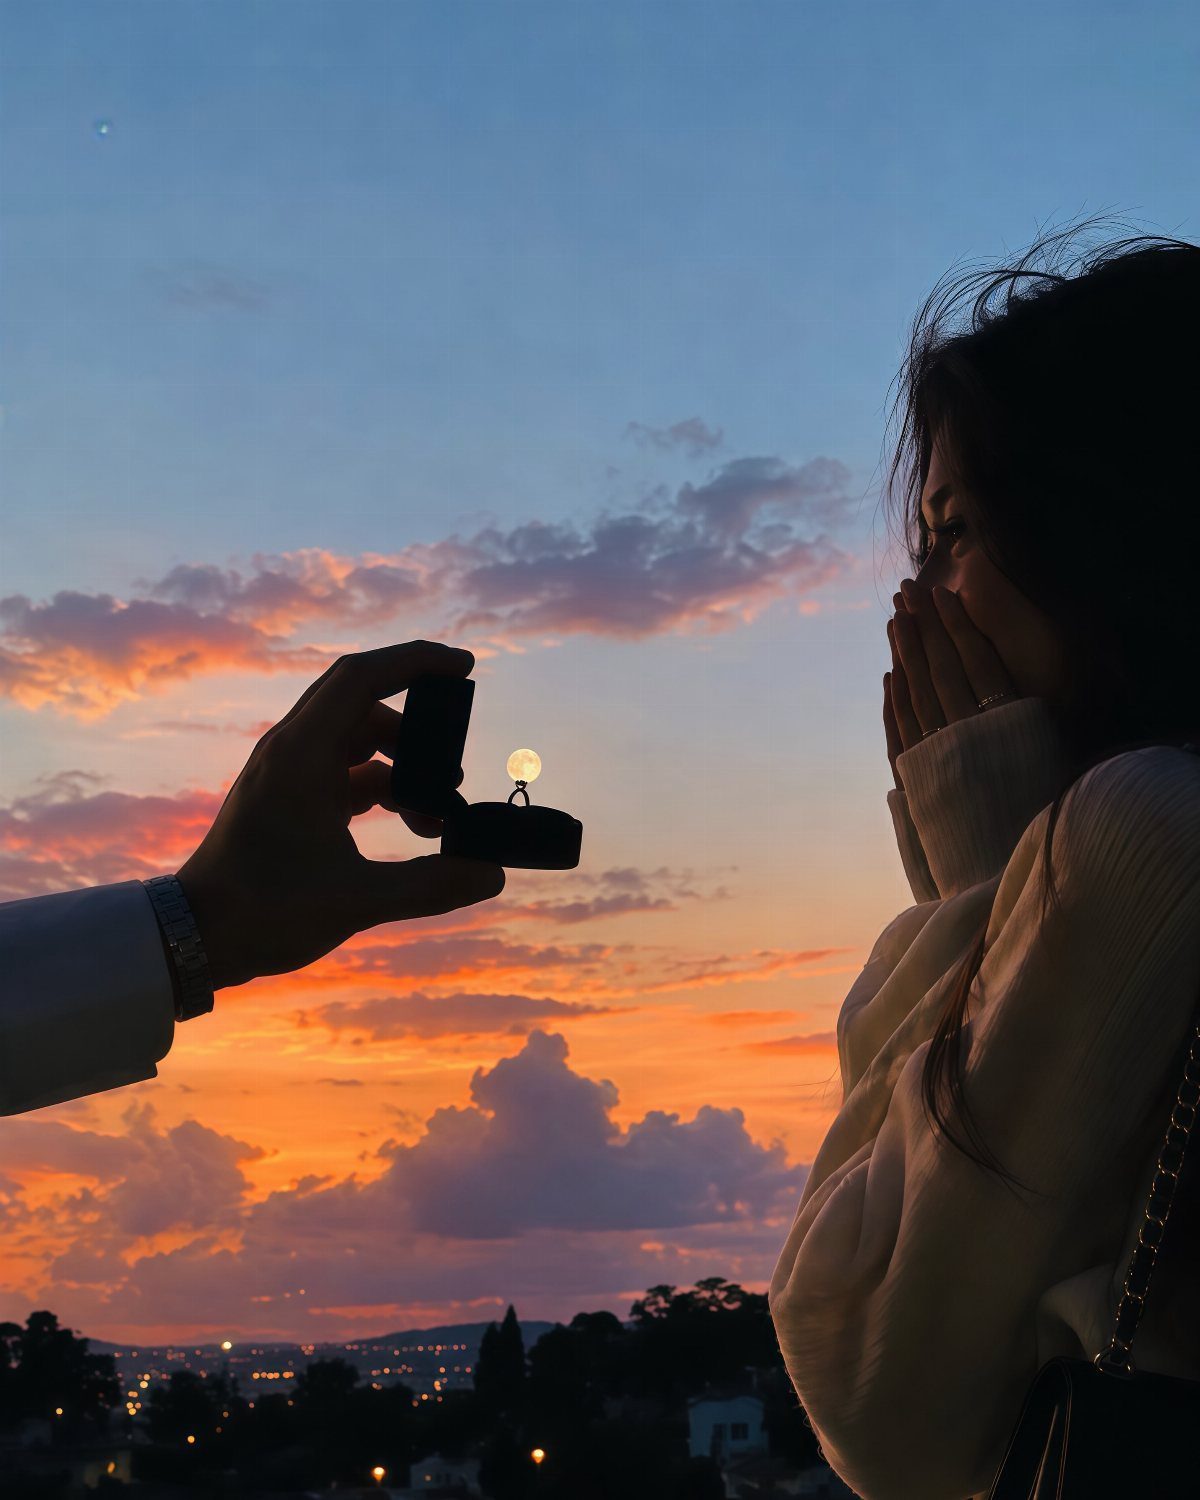
Silhouettes reward patience with timing. Shoot at sunset with the sky behind you and the city skyline below, and expose for the bright sky so both of you drop to solid dark shapes.
The open ring box is the detail that makes it read as a proposal, so hold it out where its outline stays clear of both bodies. A silhouette hides the ring itself, so take a separate close-up as well.
5. Ring Against the Night Sky
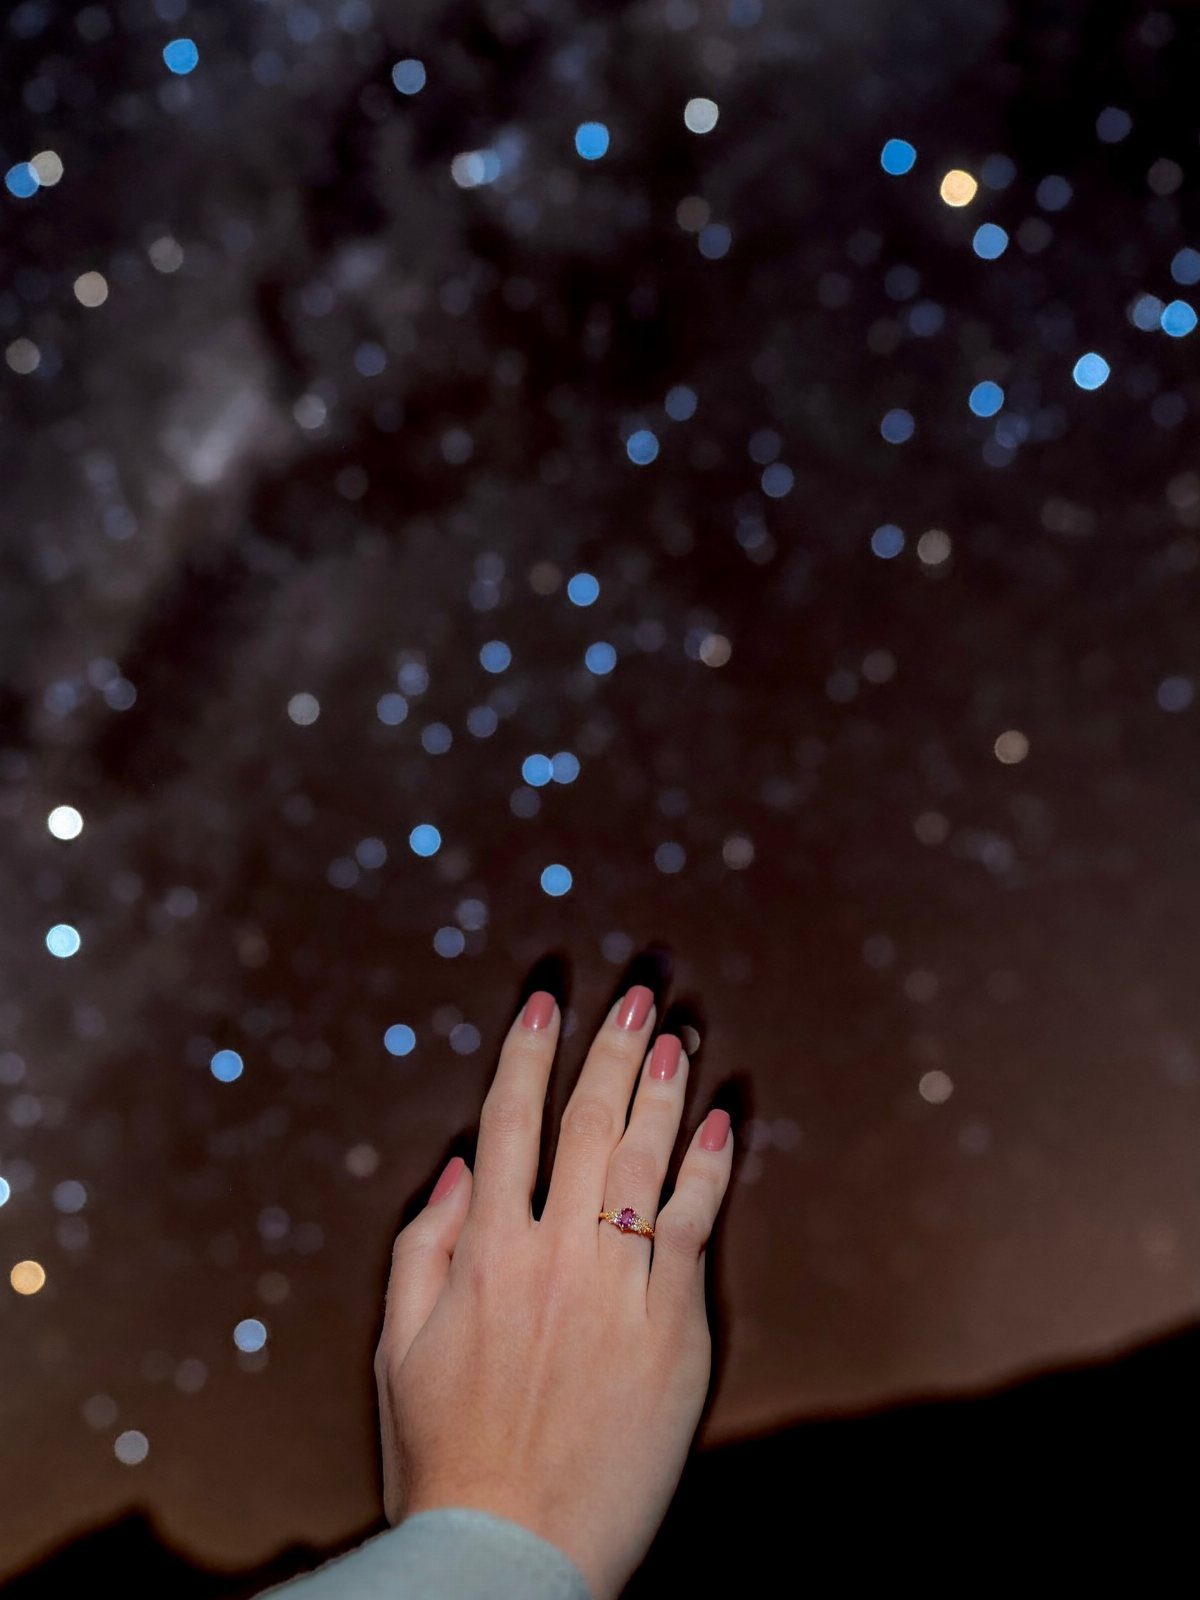
Hold the hand up against a dark sky, then widen the aperture so the background lights blur into soft bokeh.
Focus on the ring, not the sky, and brace your hand against something if you can. Night shots need slow shutter speeds, so a shaky hand will blur the ring too.
6. With Your Pet’s Paw
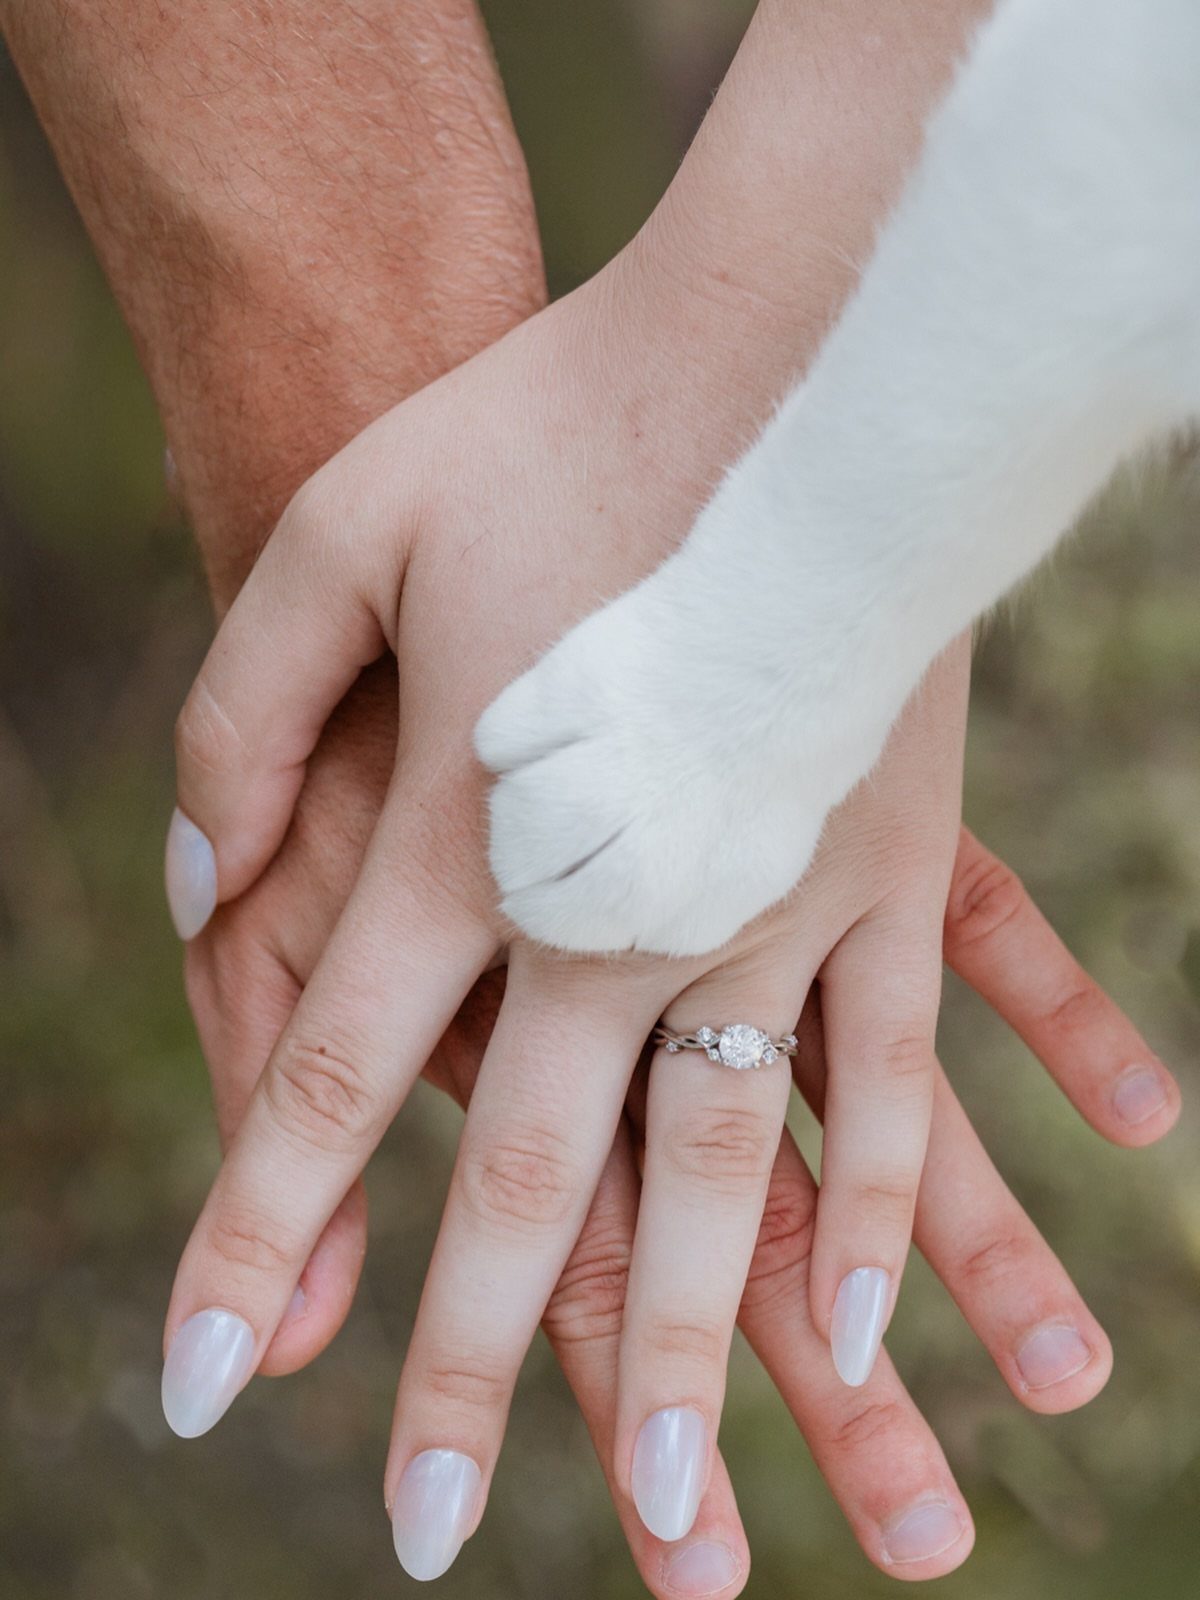
Pets make the best photo-bombers, and a paw laid on top of stacked hands turns a ring photo into a family one.
Keep the ring hand visible and let the paw rest on top of it, so the stone still catches the light.
Treats help, and so does patience; you will take many frames to get one where the paw stays put. An outdoor spot with soft light keeps the white fur from blowing out.
7. Close-Up of the Ring Details
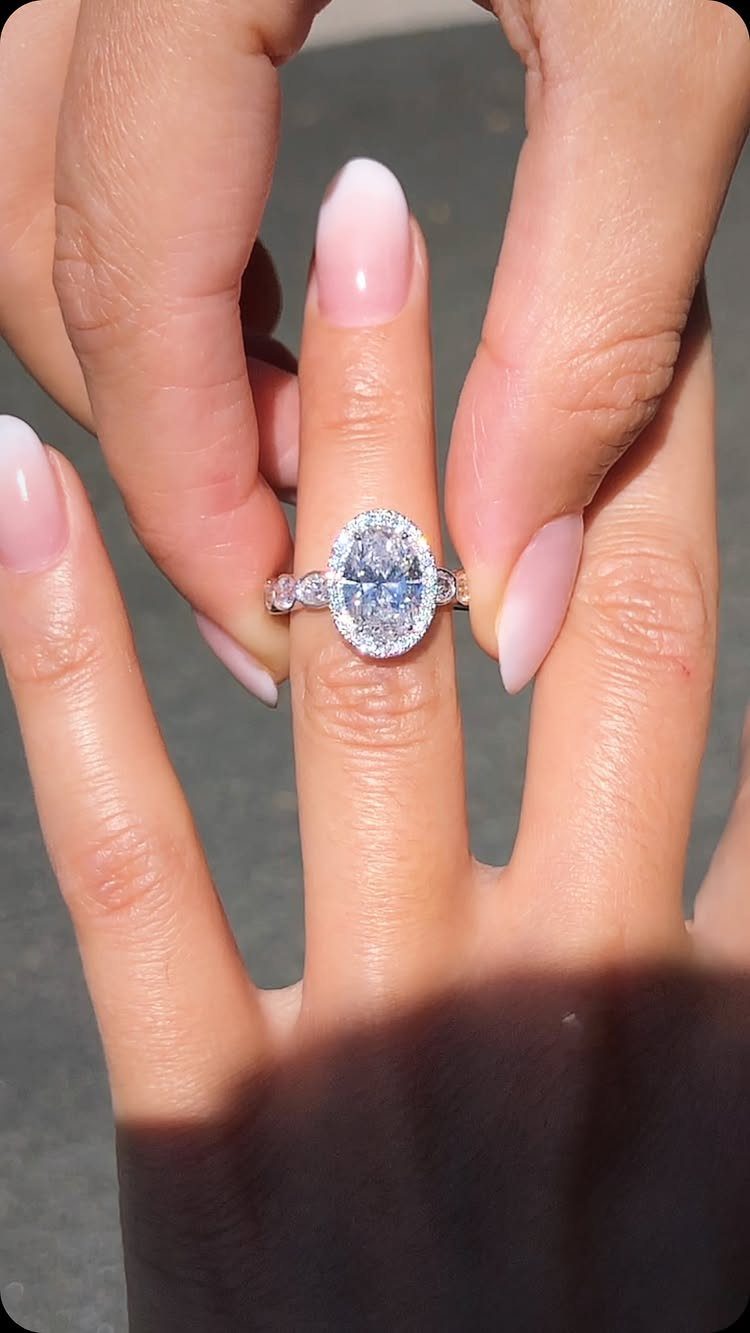
An oval diamond with a halo and side stones has a lot going on, so a tight crop is where it pays off. Fill the frame with the ring and soften the background until it goes to color and light.
Folding the fingers into a heart shape, as here, keeps the hand relaxed and puts the stone at the center.
The maker of this ring says it holds a 2.00 carat oval center stone, and a stone that size can take a close macro frame.
Clean the ring before you shoot; every smudge on the halo shows up at this distance.
8. Ring with Flowers Background
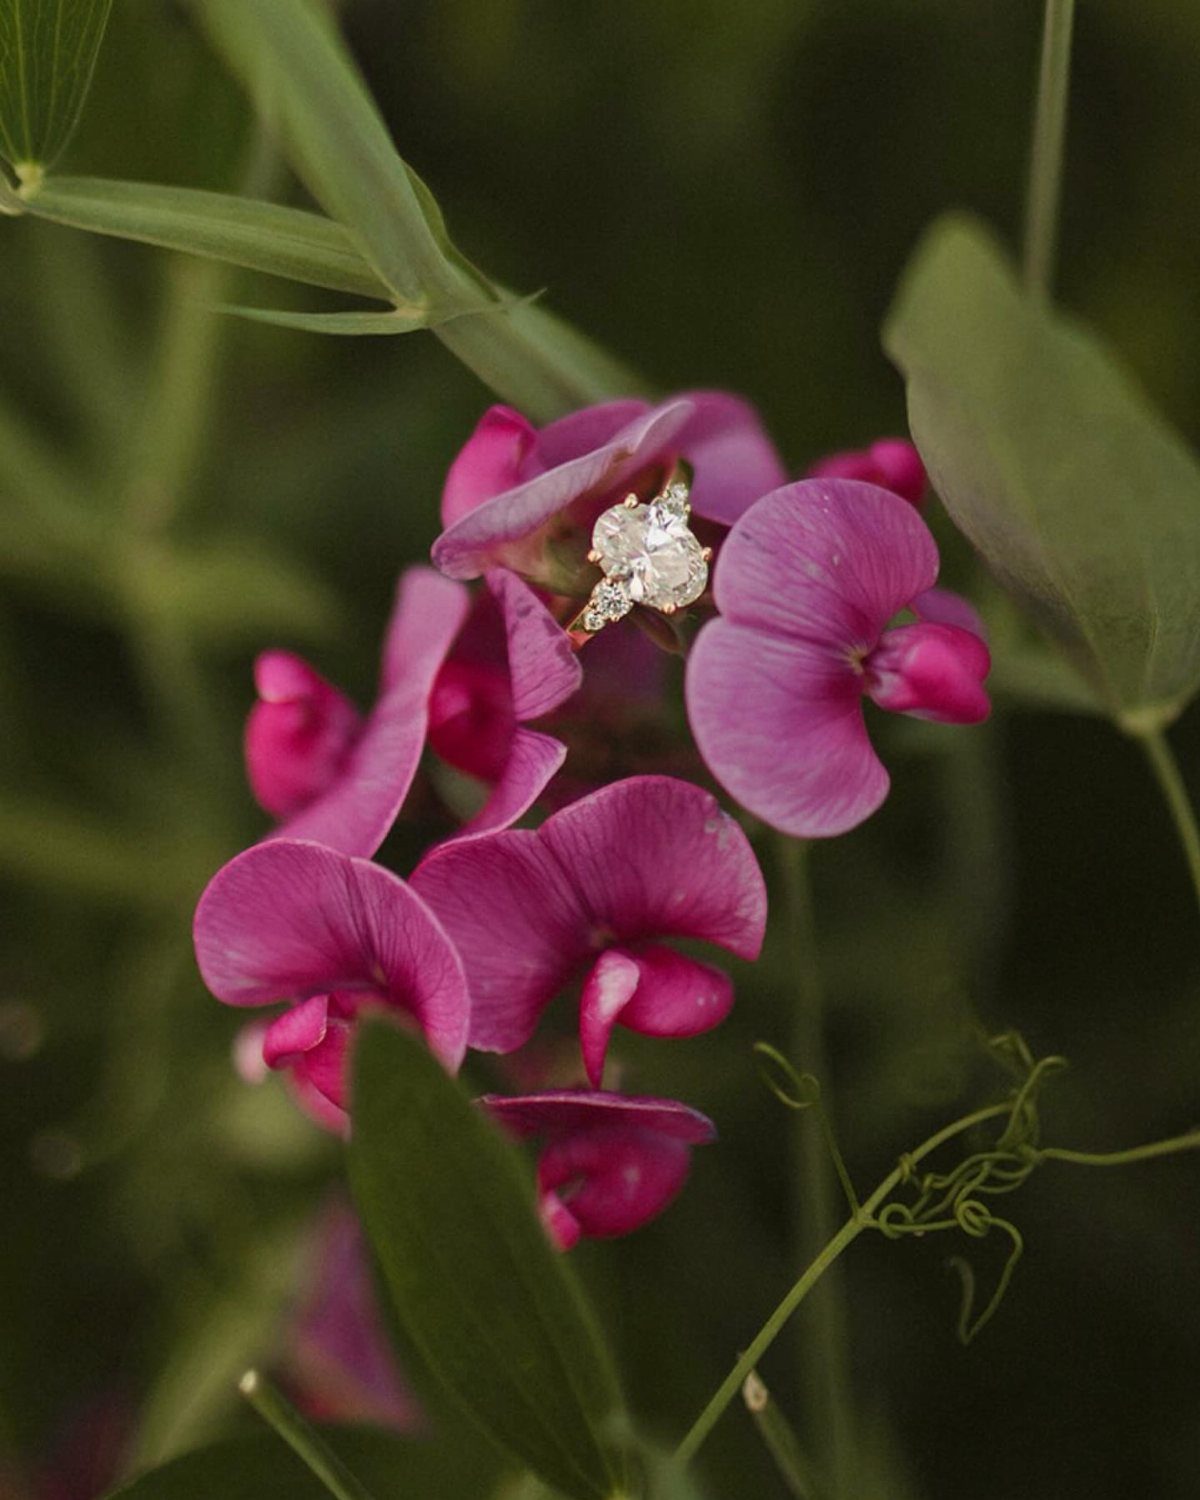
Set the ring on a single petal so the surrounding flowers form a natural border.
Choose blooms with some color, since a pale petal would swallow a pale stone. Focus on the diamond and the foliage behind it will blur out on its own, especially at a wide aperture.
Rest the ring so it stays steady in the petals, and shoot from slightly above.
9. Ring with Shadows
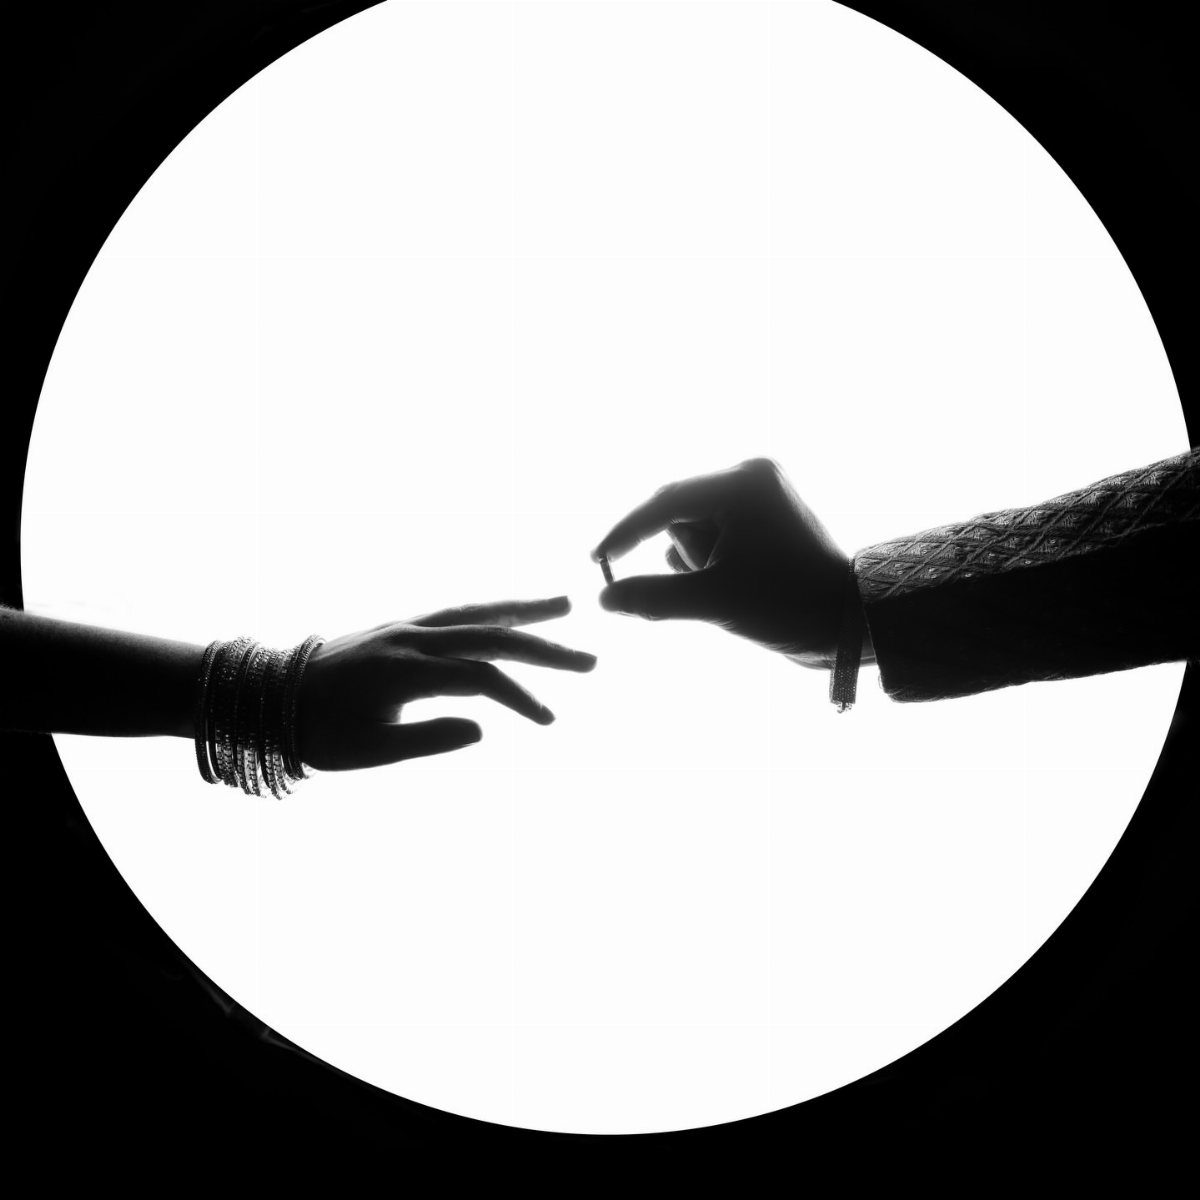
Backlight does the work here. Place the hands against a bright white circle and the exposure drops them to dark shapes, leaving the ring as the one clear outline.
A silhouette hides the diamond, so keep the ring on its way onto the finger, where the band still reads against the light. Bangles and other jewelry add shape to the outline, so leave them on.
Take a few frames as the hand moves, then pick the one where the fingers stay separate.
10. Ring with Meaningful Locations Background
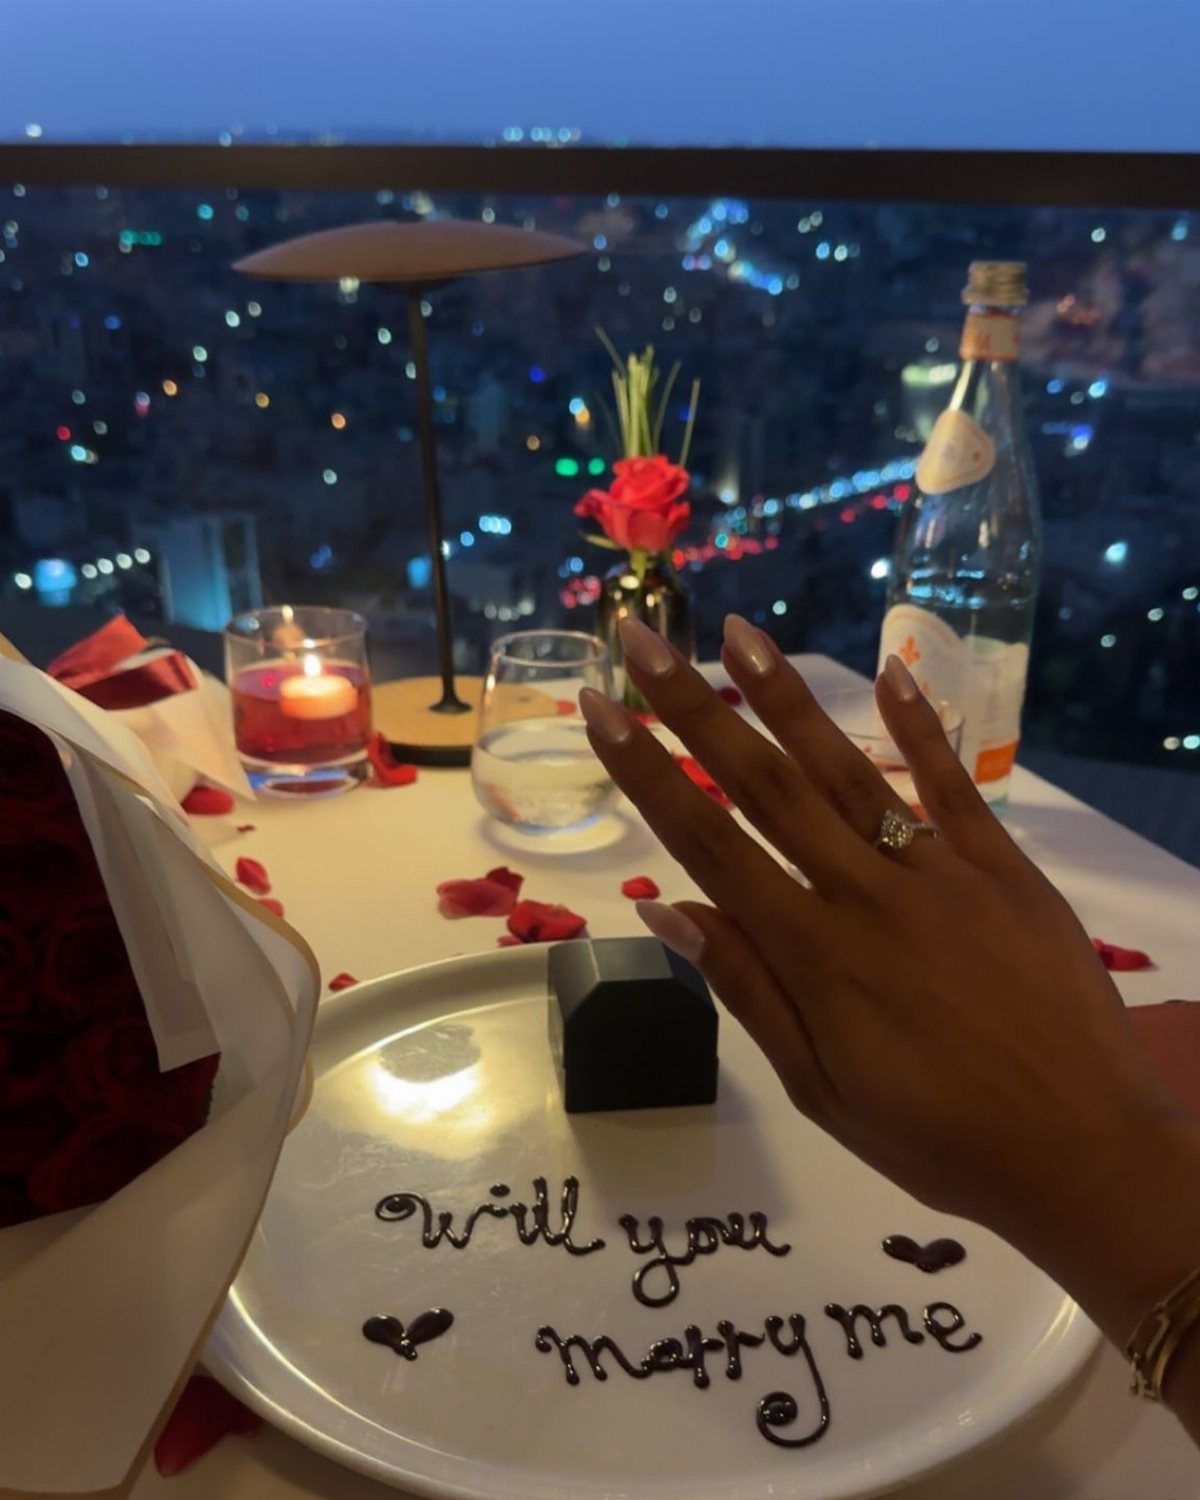
A place that matters to the two of you gives the ring a story. A balcony over a city at dusk, with roses and wine on the table, says where it happened without a caption.
Shoot at dusk if you can, when the city lights come on.
11. Ring Within Autumn Leaves
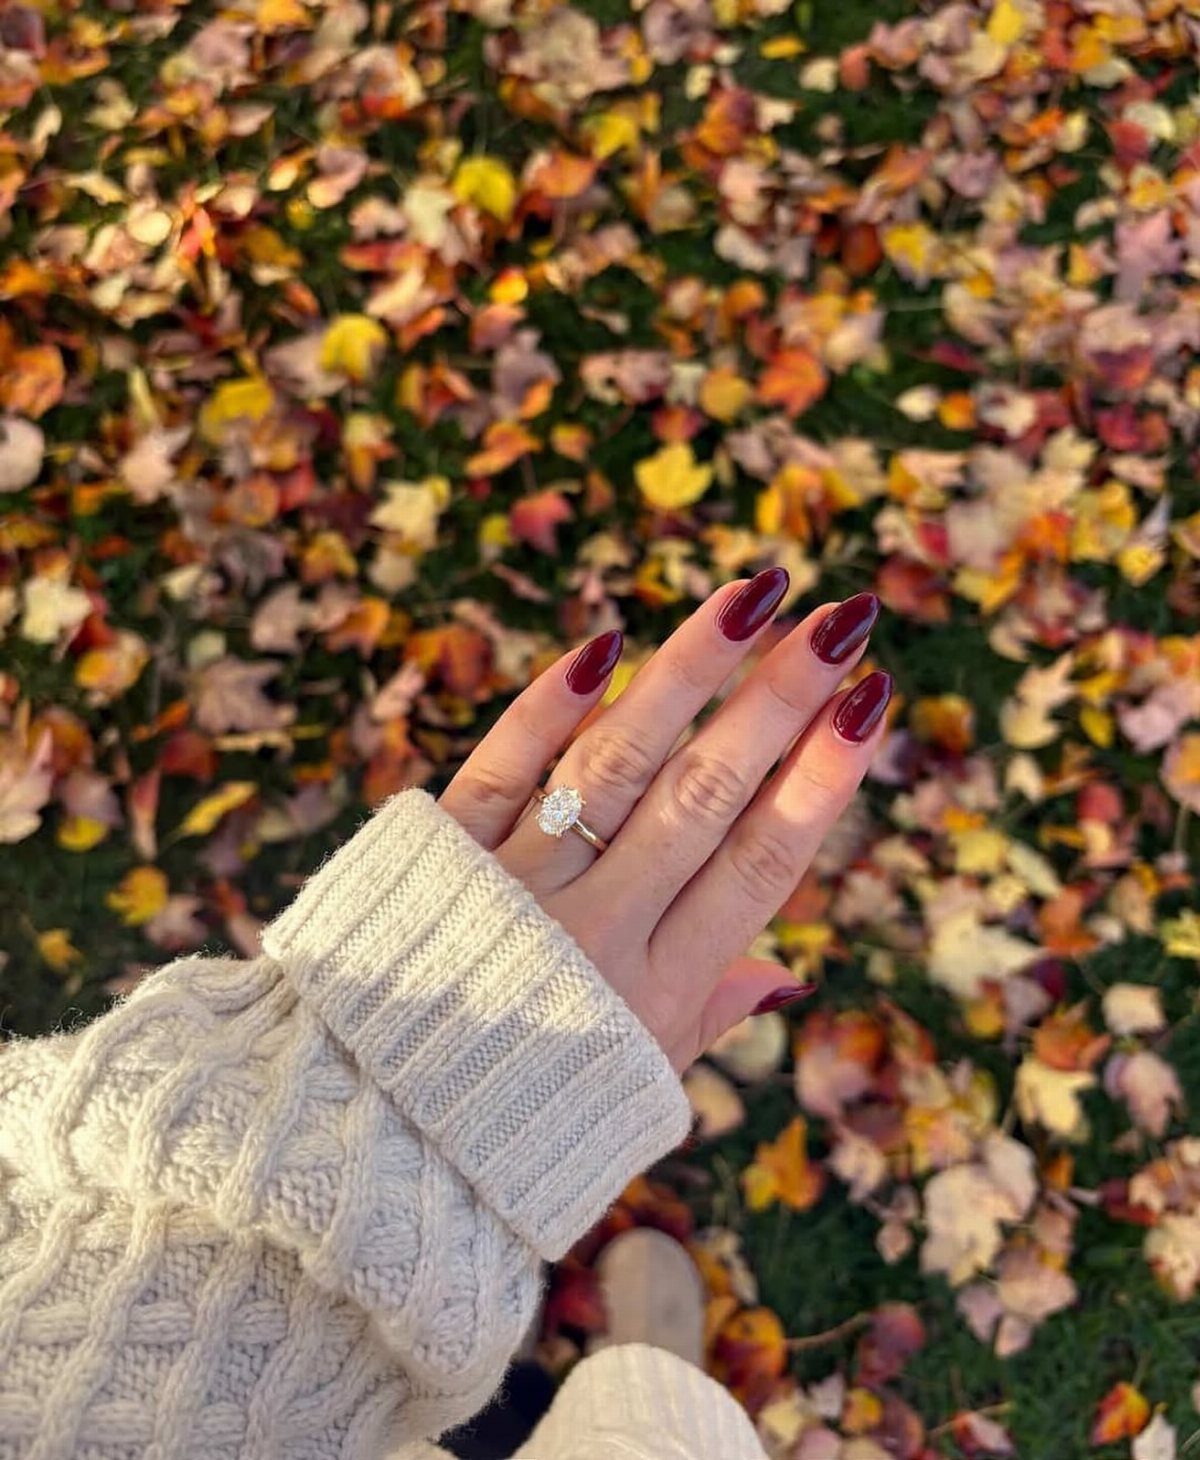
Fallen leaves in red, orange and gold give the diamond a warm bed to sit against. Hold the hand a few inches above the pile and focus on the stone.
Dark red nail polish and a white cable-knit sweater, as here, keep the palette in the same warm family without pulling attention from the ring. Plain sleeves work better than busy patterns.
Take it in fall, when the leaves are fresh and still colorful.
12. Hand on Partner’s Chest
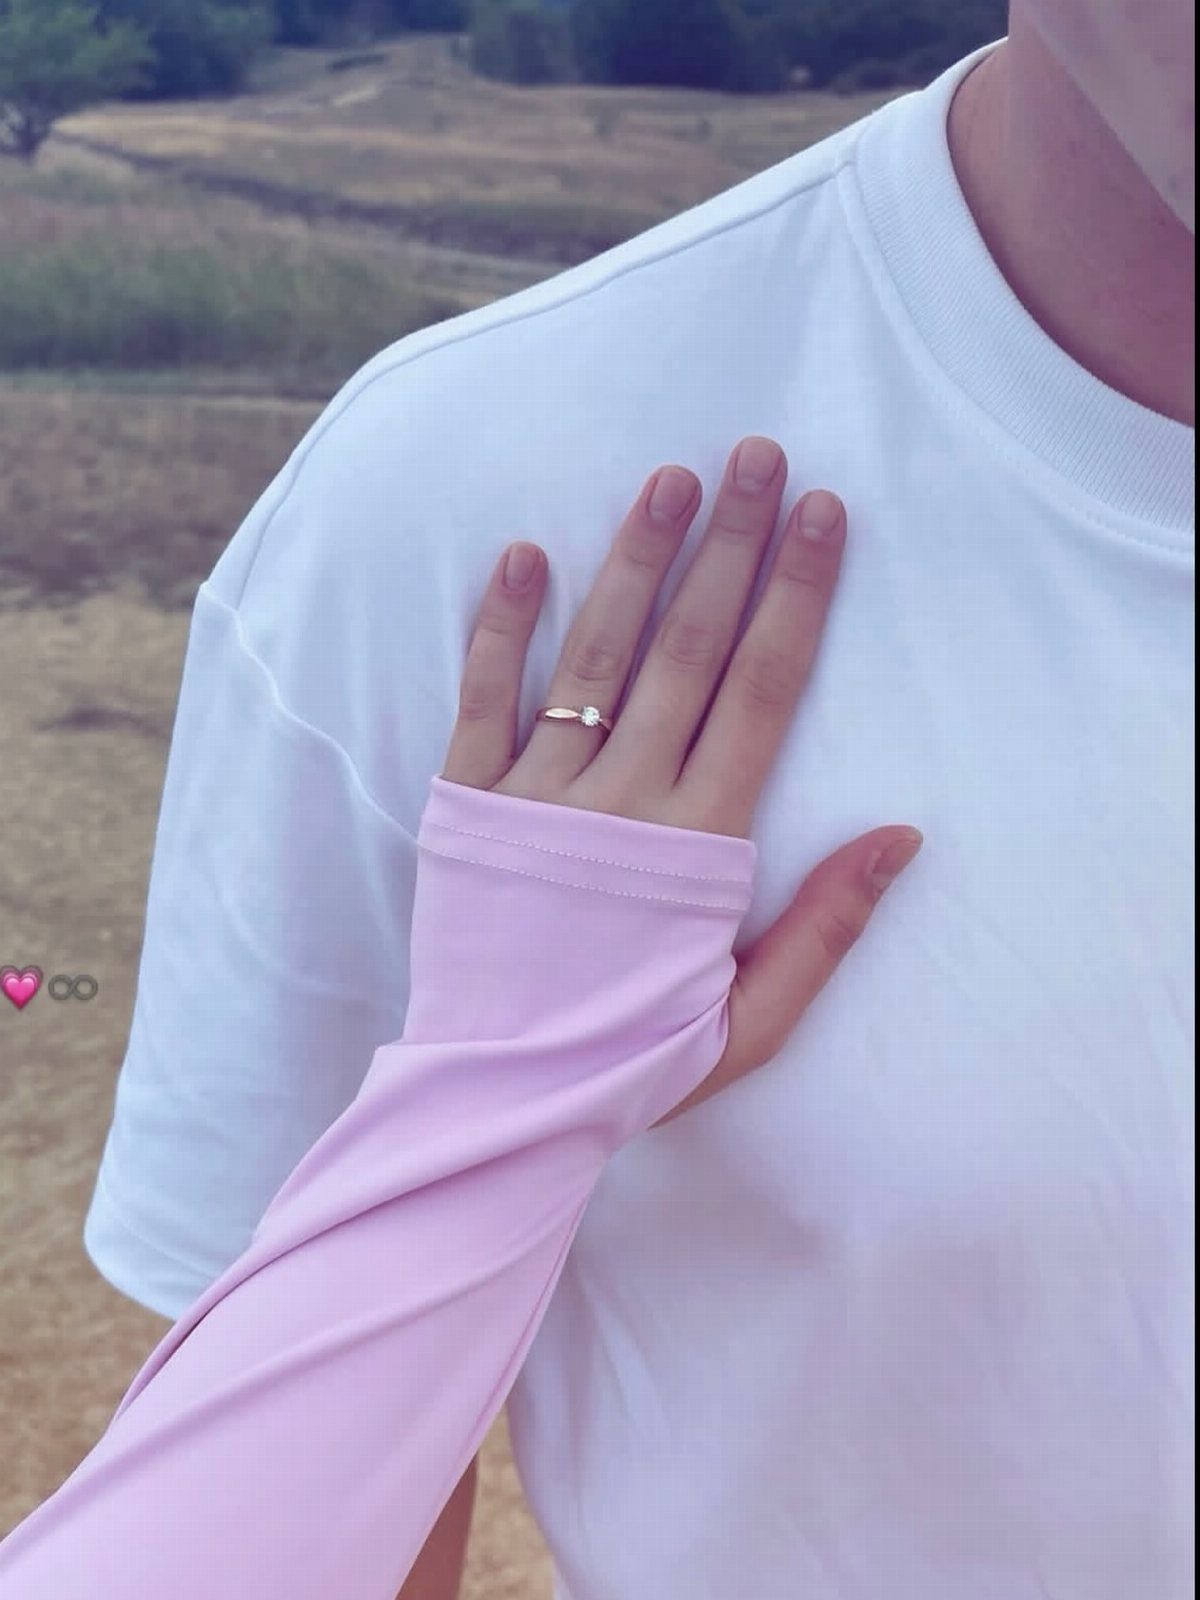
A hand resting on a partner’s chest is one of the quietest ring shots. The ring sits in the foreground while the body behind it adds warmth and scale.
A plain white t-shirt keeps the background clean, so the stone stands out. Let the hand lie loose and flat, not pressed, and focus on the ring with the shirt blurred behind it.
Outdoors in natural light is my pick, because it keeps the skin tones soft.
13. Hands Stacked
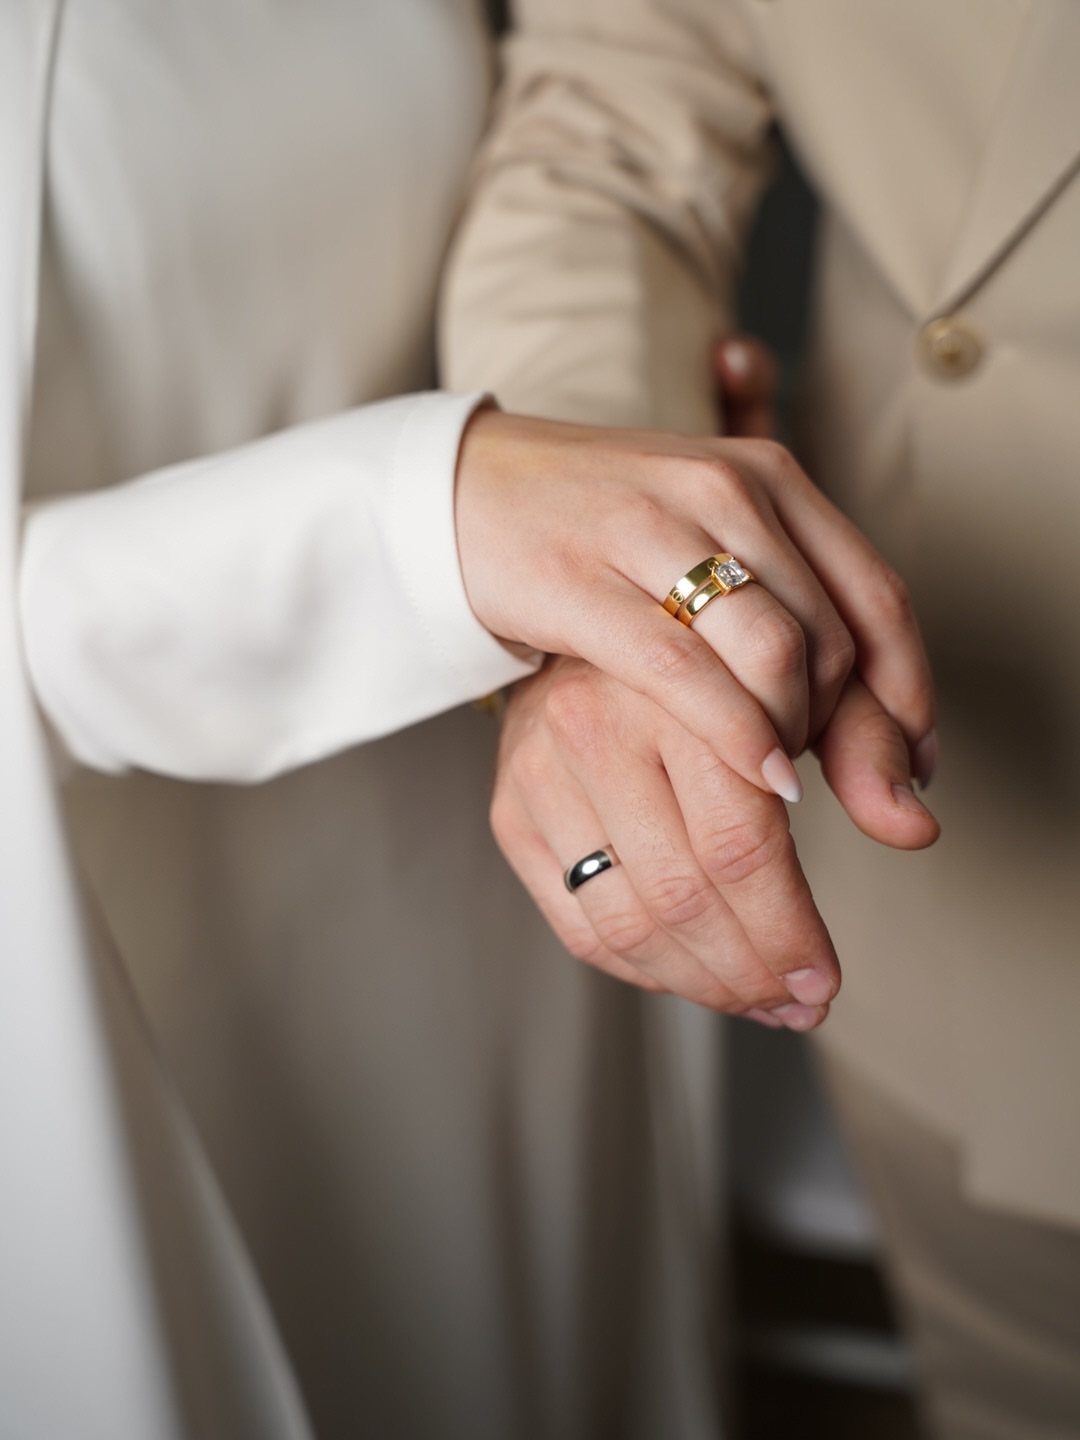
Let the ring hand sit on top so the stone faces the lens.
Keep the clothing neutral, as here, so nothing competes with the metals. Shoot close and focus on the diamond, and let the bottom hand blur softly behind it.
Take a few frames with the fingers shifted slightly; one will have the cleanest overlap.
14. Hand Around Partner’s Neck
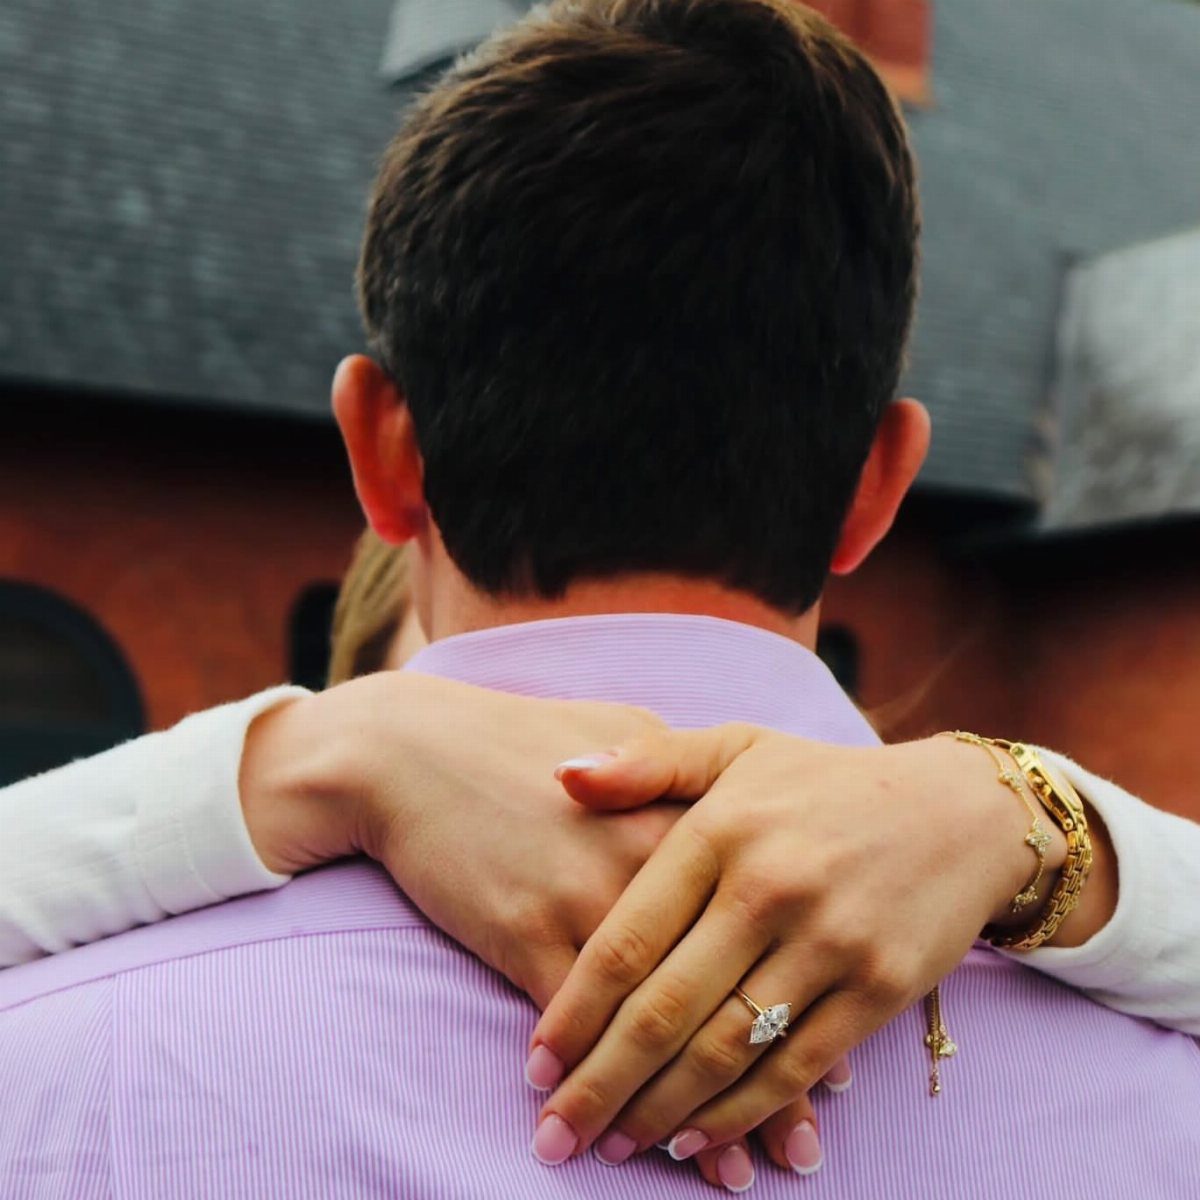
Arms draped over a partner’s shoulders mid-hug give the ring a natural place to land: right at the back of the neck, where the diamond catches daylight.
Stand outdoors and have the person being hugged wear a solid color.
A purple shirt, as here, makes a rich backdrop for the stone. Rest the hands loosely, with fingers relaxed, and focus on the ring while the shirt blurs behind it.
Shoot over the shoulder, close enough that the hands fill the frame.
15. Covering a Laugh
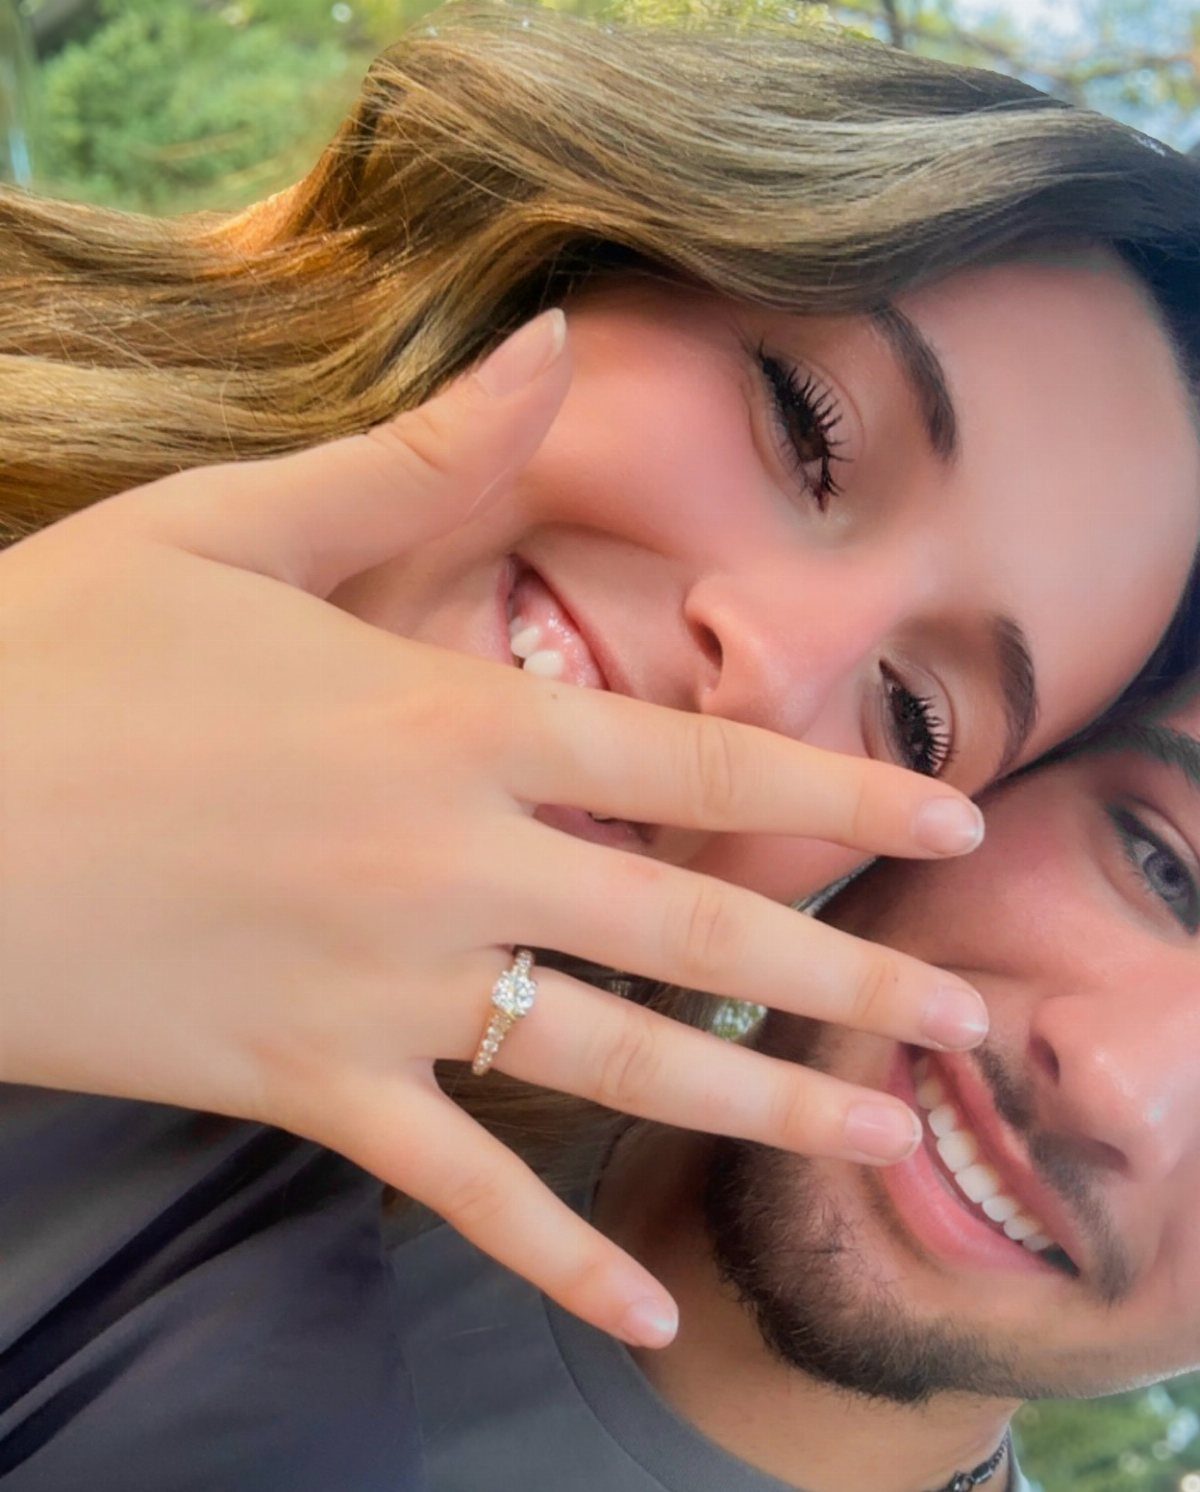
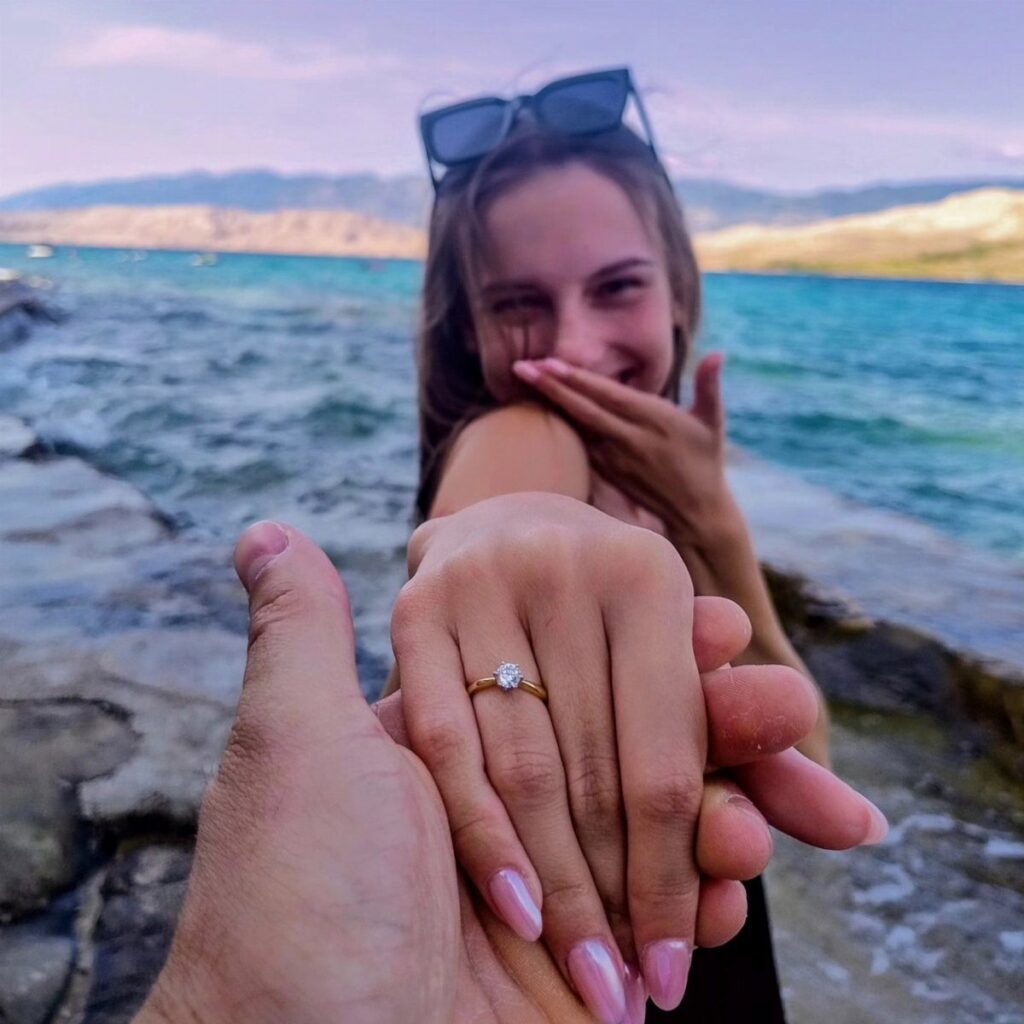
Laughter does what posing can’t, and a hand lifted to cover it puts the ring right beside the face. Ask your partner for something genuinely funny, then shoot a burst as the hand rises.
Keep the fingers loose so the diamond stays visible near the cheek, and pick a spot with greenery behind you so the background stays soft and calm.
I would focus on the eyes and ring together, and accept that a few frames will miss.
Plan on taking many; the best one is rarely the first.
16. Ring in the Ring Box
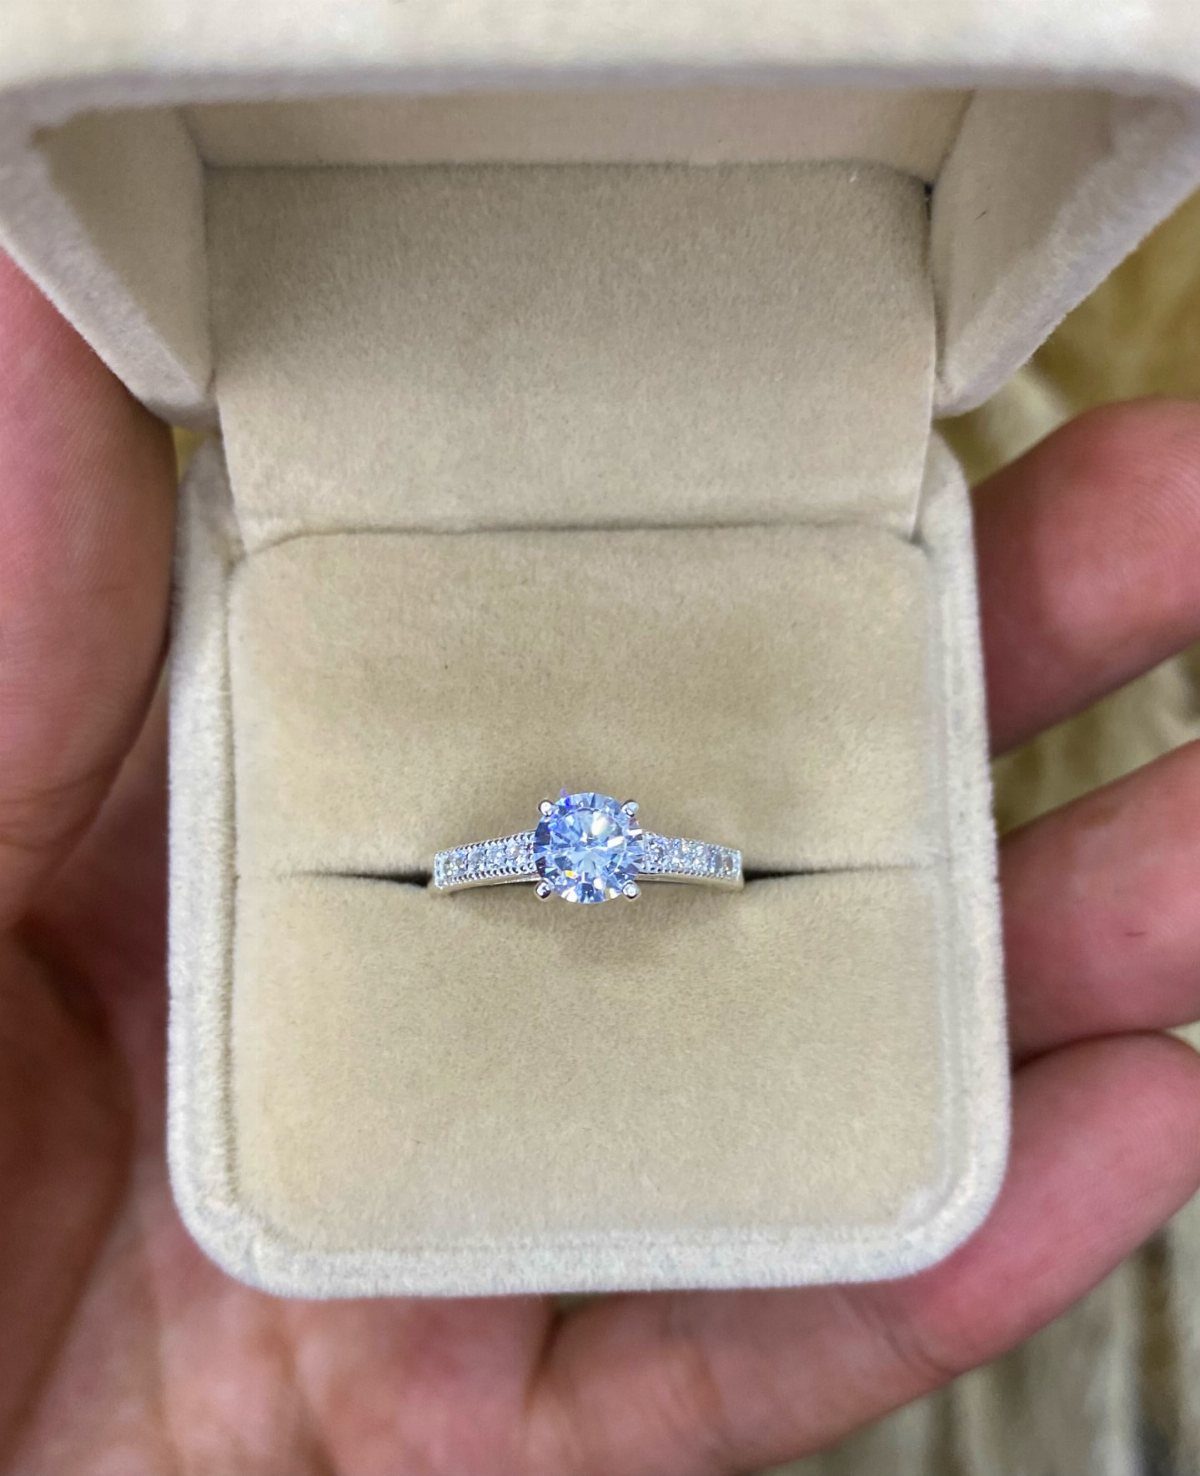
An open velvet box turns the ring into a small still life, and it’s the shot closest to the proposal itself. A plain beige box is a quiet backdrop that lets a silver ring with side stones stand out.
Tilt the box slightly toward the light so the center diamond sparkles, and focus on the stone. Holding it in one hand keeps the picture human, while setting it on a table gives you a steadier frame.
Clean the stones before you shoot, because a close frame picks up every speck of dust.
17. Flat Lay with Details
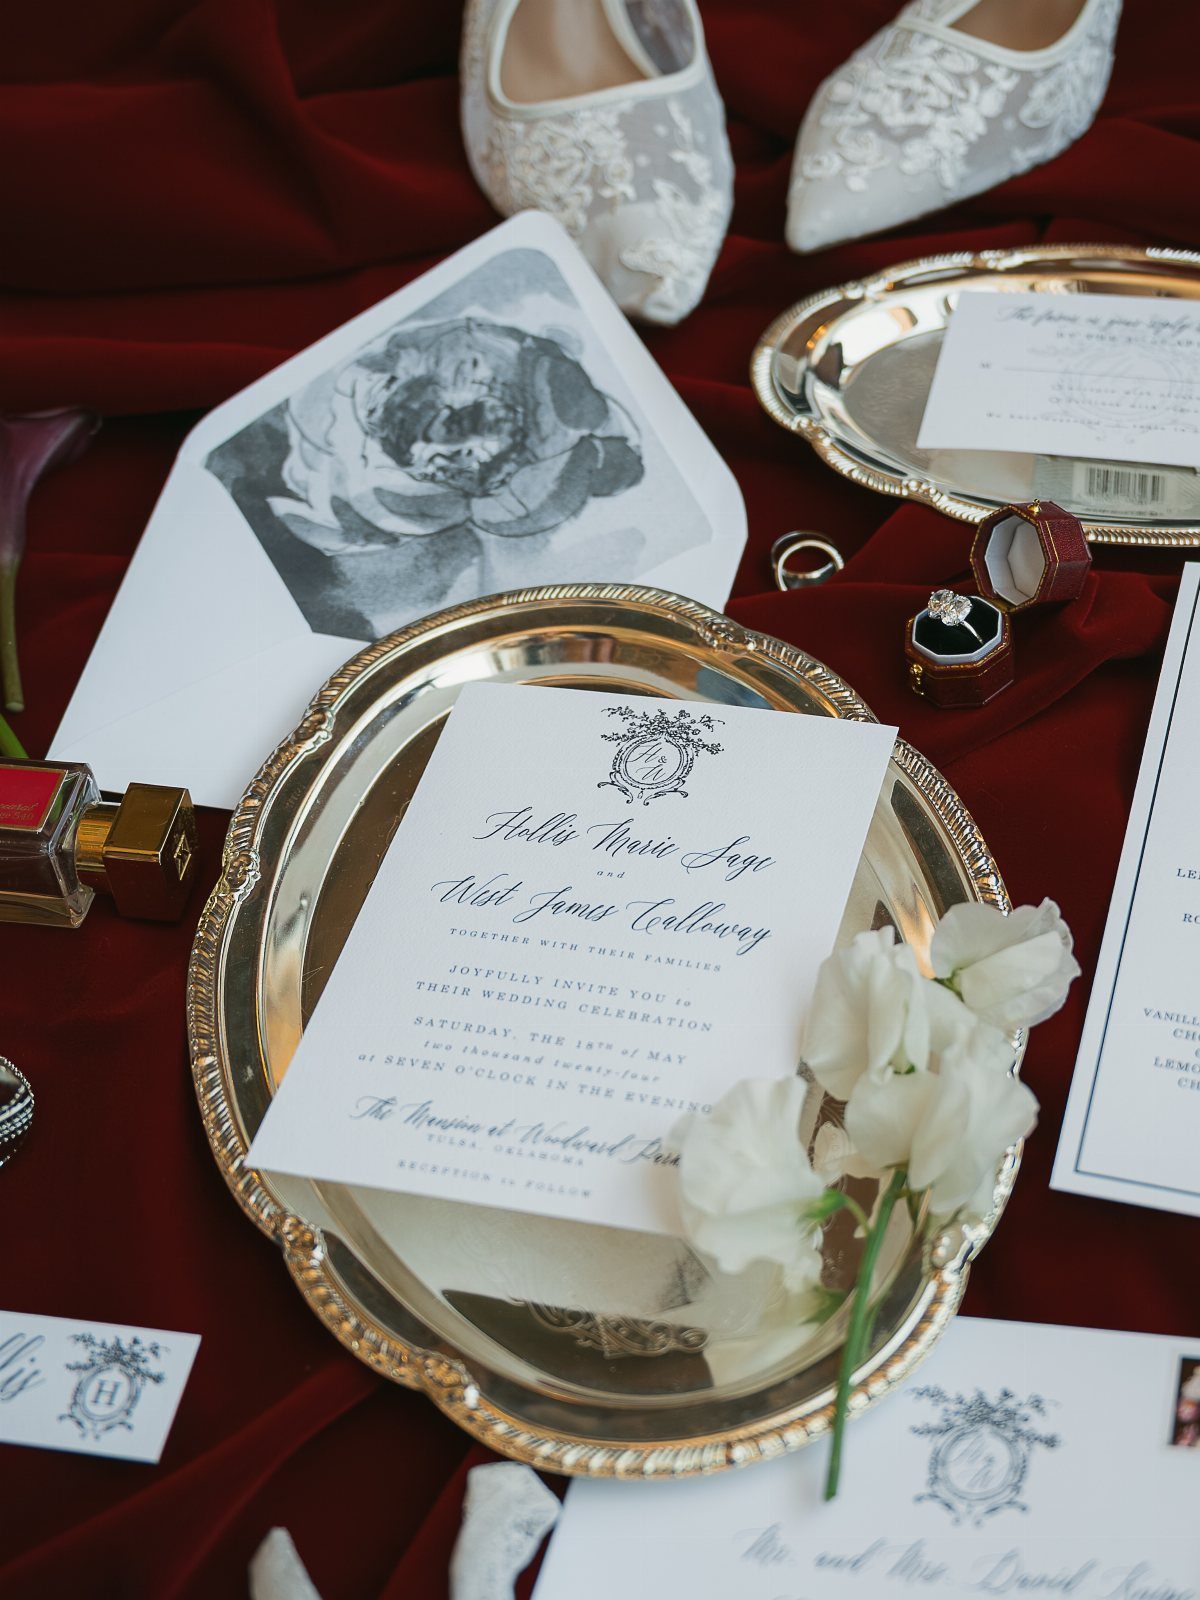
A flat lay lets the ring share the frame with everything else about the day.
Shoot straight down so nothing looks skewed.
Leave gaps between items, and place the ring box where the eye lands first. Color is the real choice: red velvet is bold, so keep the other pieces mostly white.
Add pieces one at a time and stop before it feels crowded.
18. Hugging from Behind
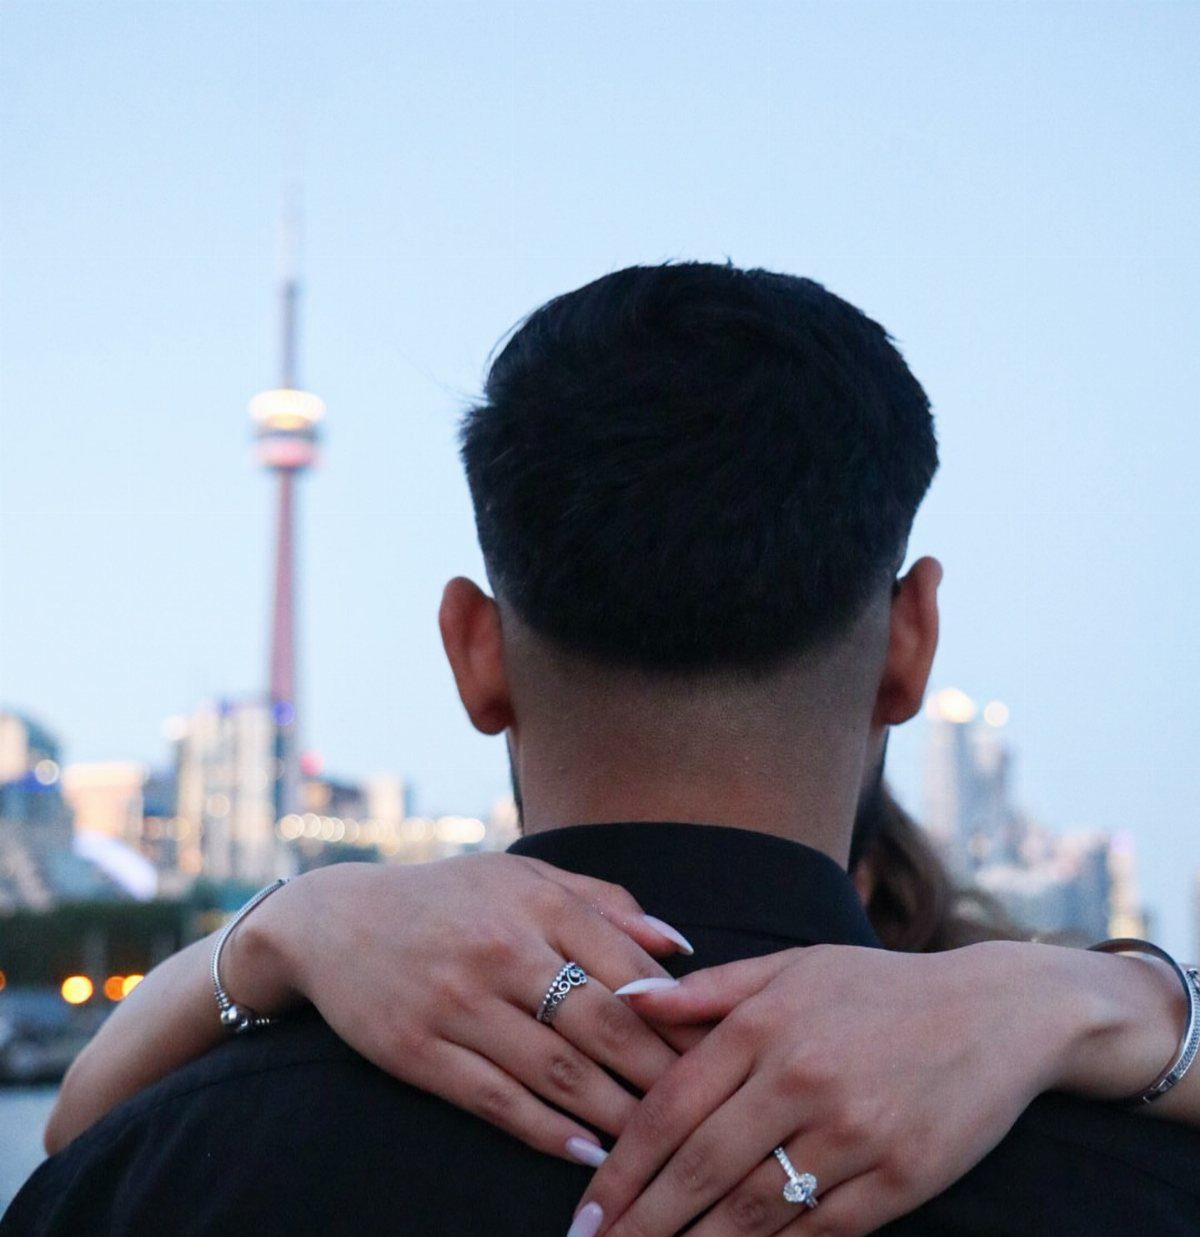
The hugging-from-behind pose is a good pick if one of you dislikes being photographed.
Choose a spot with a recognizable skyline and let it blur behind you, so the diamond stays sharp. Cross the wrists loosely and keep the ring hand forward.
I would focus on the stone, not the skyline; a city this iconic reads even when it’s soft.
19. Ring in the Sand
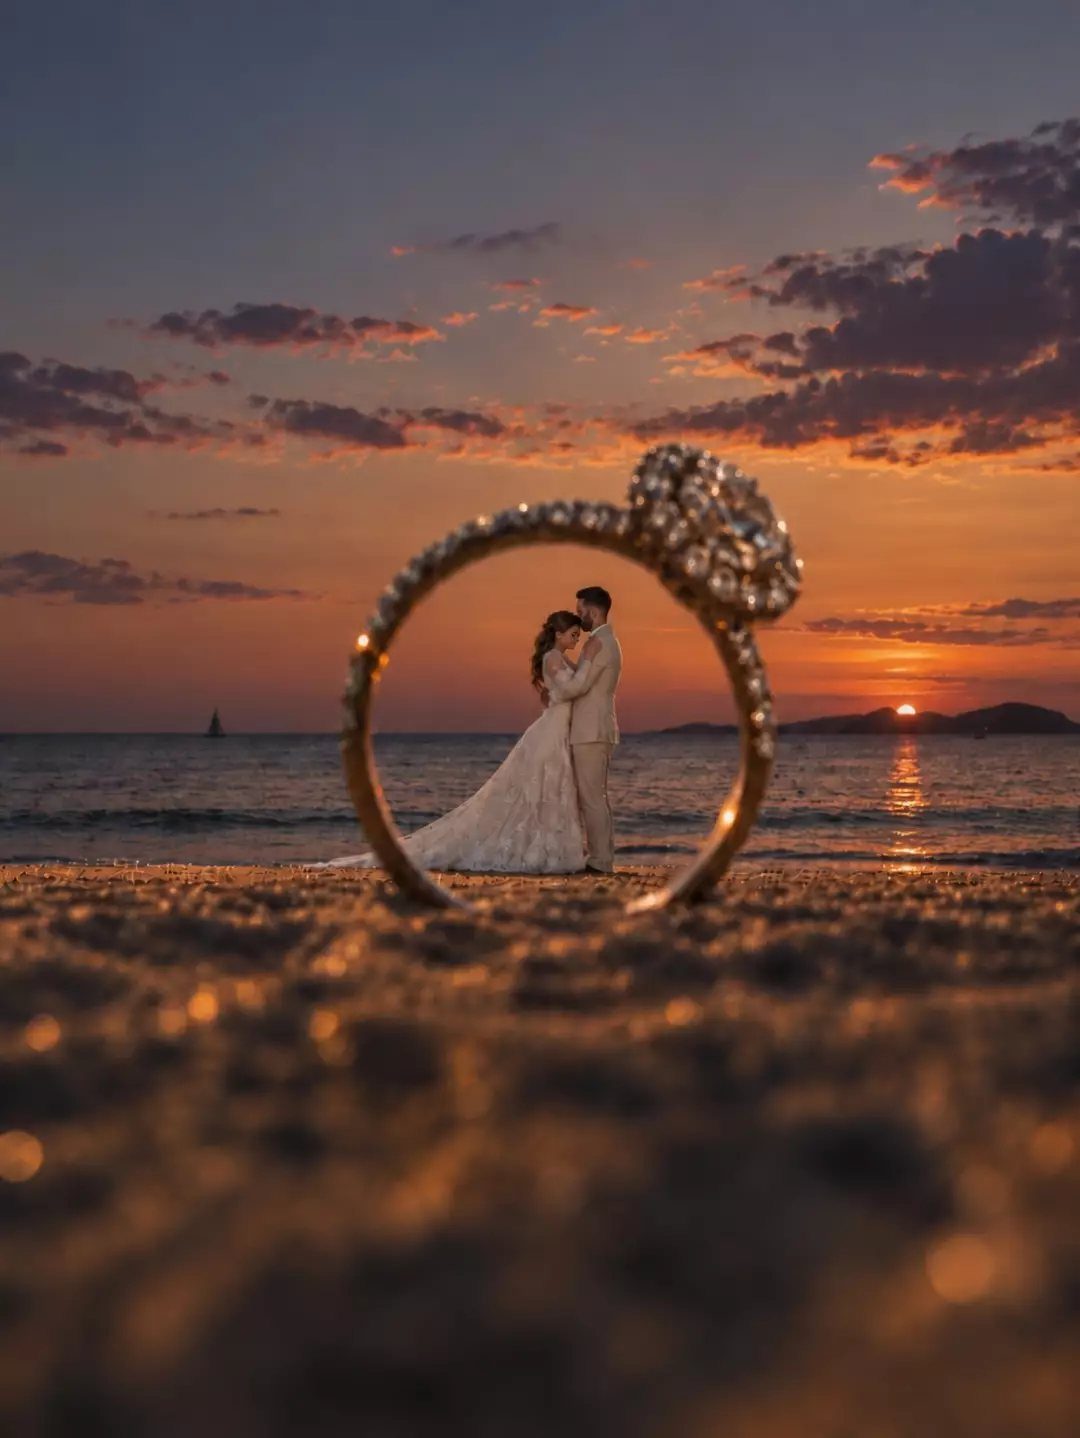
A ring standing upright in the sand turns the beach into a frame, with the couple small and soft inside it. Sharp ring, soft sunset: set your focus point on the stone and let the horizon go to glow.
Press the band in deep enough that it stays put, and keep the camera low, near sand level, so the ring looks large against the water.
Wipe the sand off the stone before each frame.
20. Hand on Partner’s Face
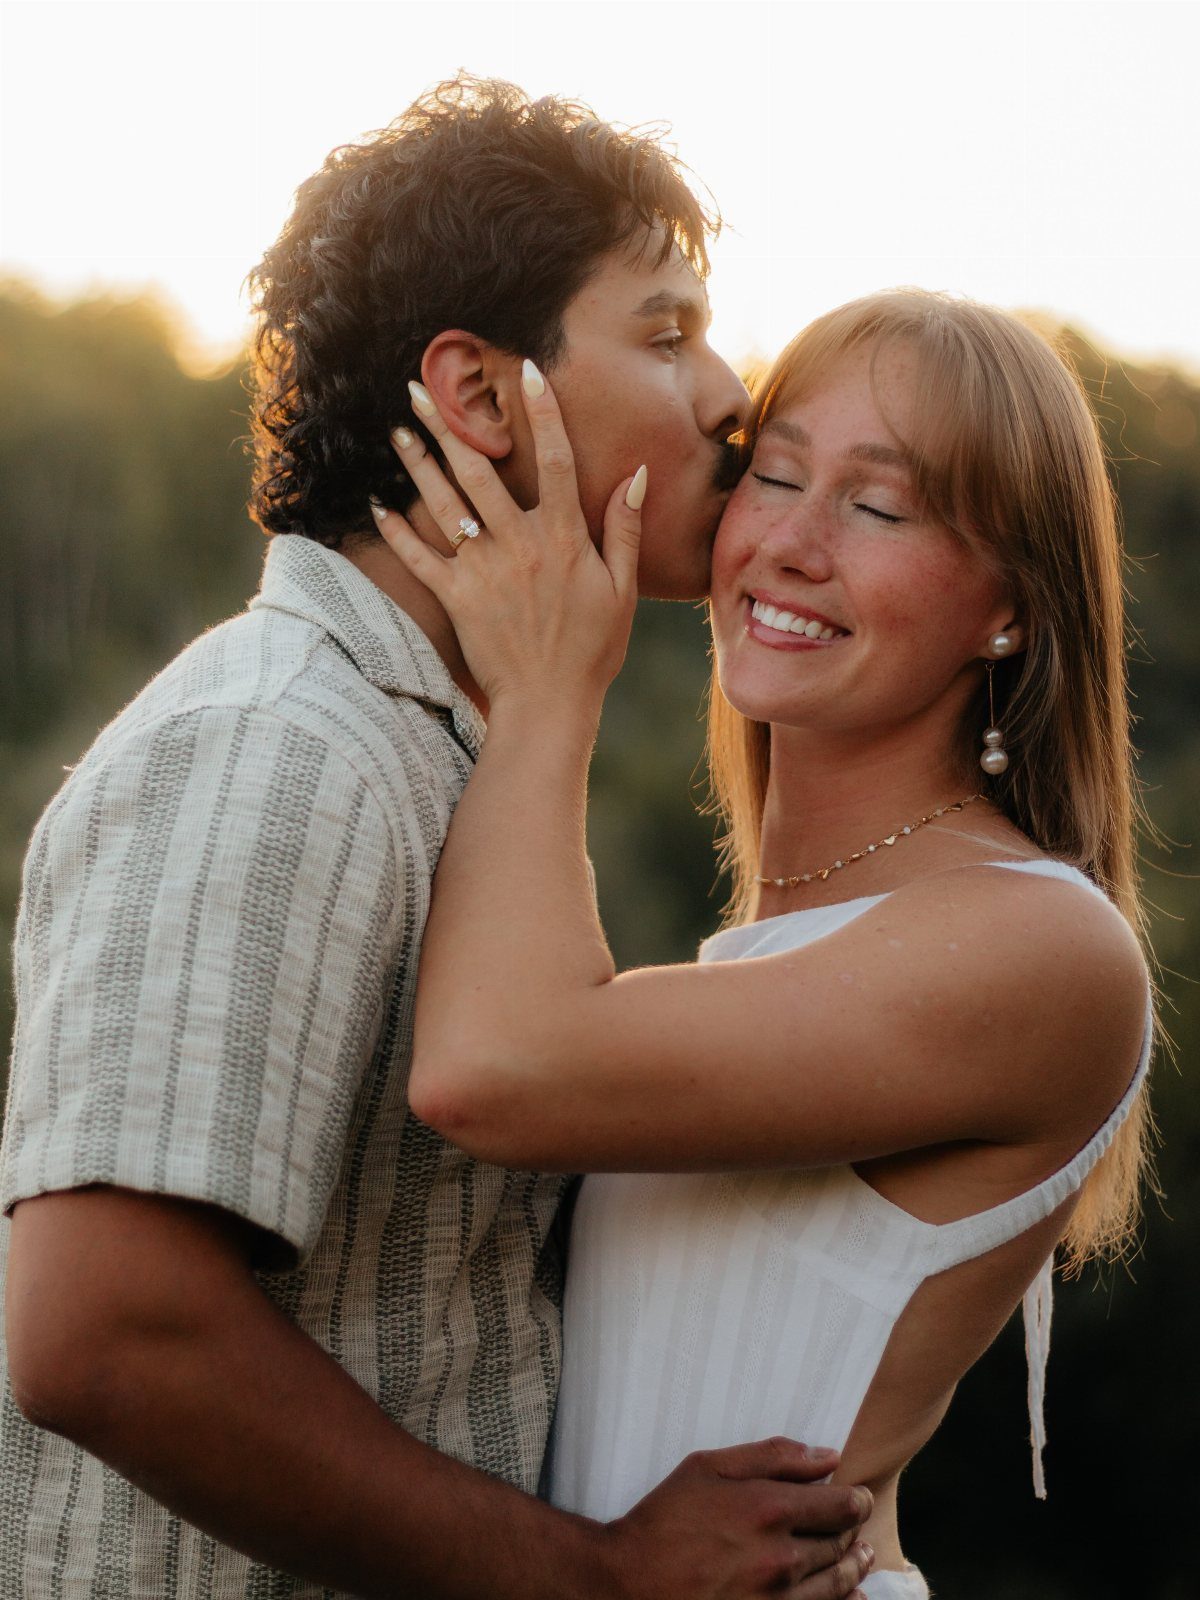
Resting the ring hand on a partner’s cheek mid-kiss puts the diamond right beside the faces without any stiff posing. Keep the fingers soft and the palm light, so the hand looks like it belongs there.
A tight crop with the hand close to the lens and the diamond as the sharpest point keeps the eye where it belongs. The kiss can go slightly soft behind it.
Take a burst, because the hand drifts as you move, and one frame will have the ring turned toward the light.
21. Above Writing in the Sand
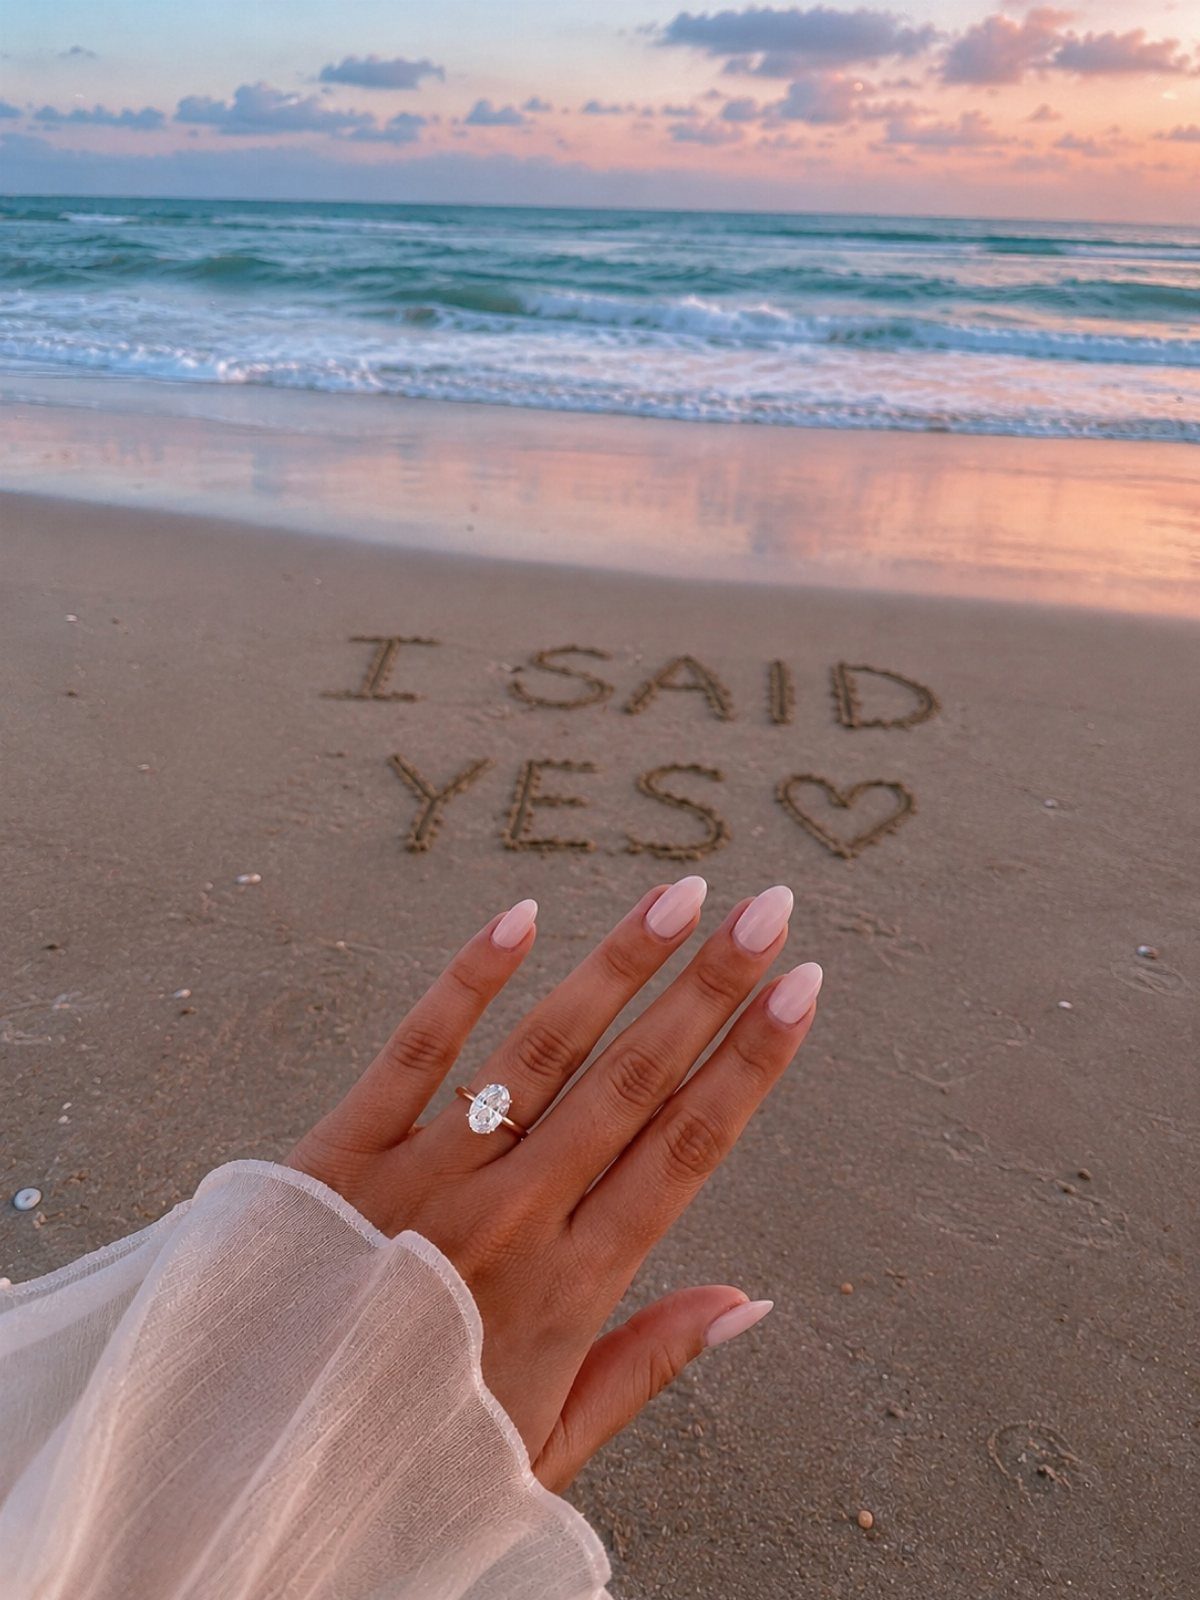
Words in the sand give the ring a caption. Write "I said yes" large and add a heart, then hold the ring hand out over the letters.
Write it before the sun gets low, then shoot at sunset so the light rakes across the grooves and makes the letters read. Deeper lines hold their shape better, and a stick helps.
A blurry message in the sand still reads fine, but a blurry diamond is a wasted shot, so lock focus on the stone.
22. Holding a Champagne Flute
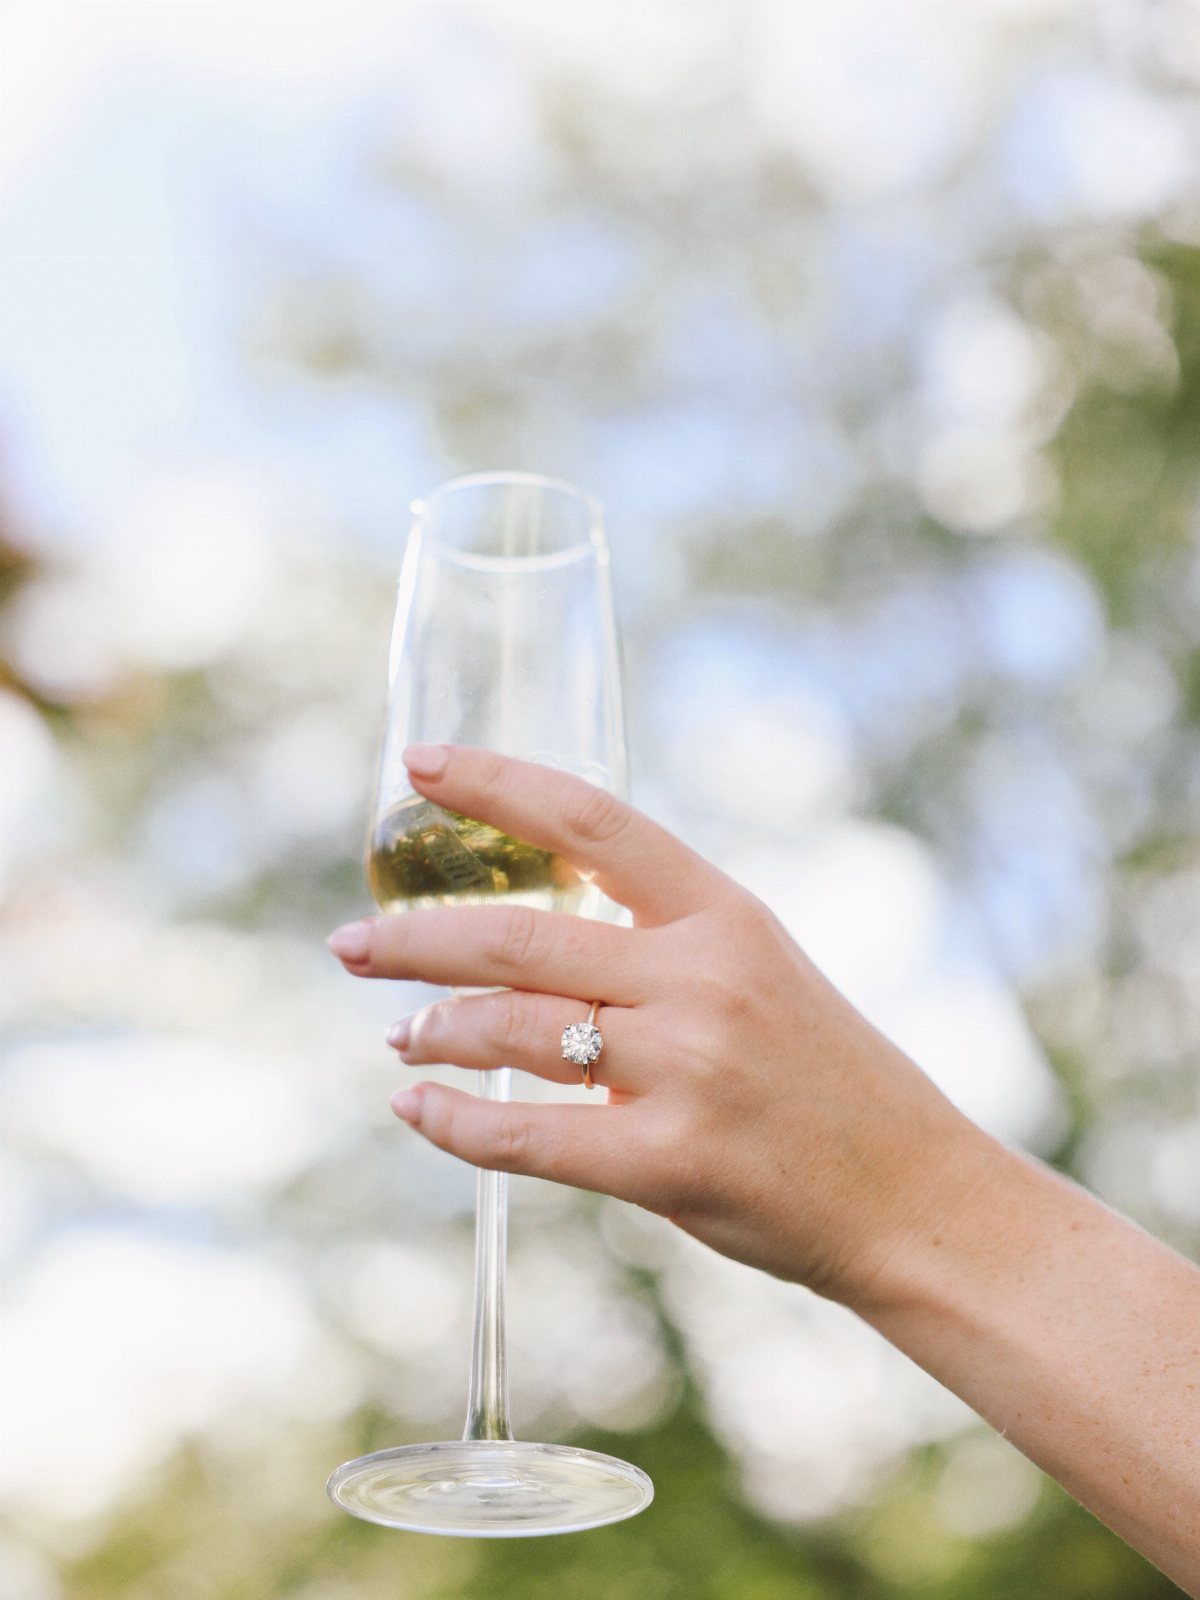
A champagne flute gives the hand a reason to be lifted, and the bubbles add sparkle beside the diamond. Hold the glass by the stem, which keeps the ring hand clear and the fingers graceful.
A close shot shows every chip and ragged cuticle, so book a manicure a day or two ahead. I like greenery behind, blurred, so the glass and stone are the only sharp things.
Fill the flute just before shooting so the bubbles are still rising.
23. Hand on Partner’s Shoulder
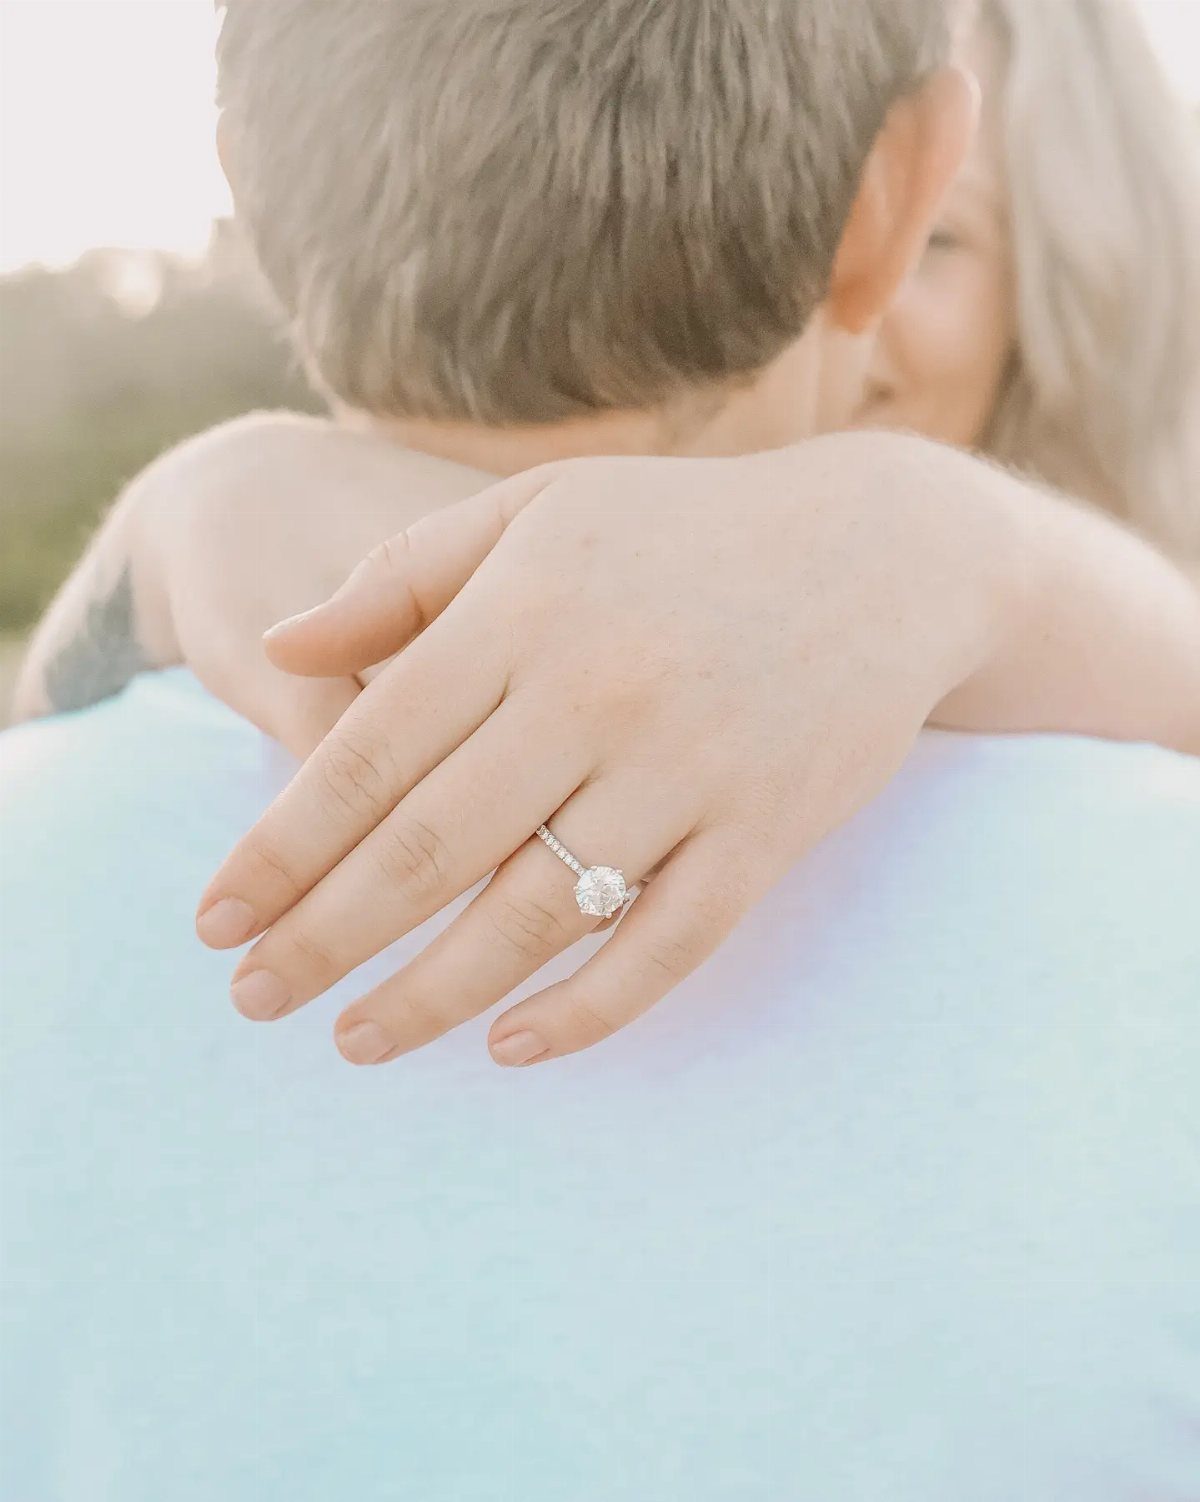
Laying the ring hand on a partner’s shoulder is a calm, easy frame, and it works well if you’d rather not face the camera.
A solid shirt in a plain, light color gives the stone a quiet backdrop, where a pattern would compete with it.
Keep the fingers relaxed and let the hand rest, not grip. Outdoor light, a close frame and focus locked on the diamond let the shirt fade into a soft background.
Try a few angles; a slight turn of the wrist catches more light.
24. Tossing Rings in the Air
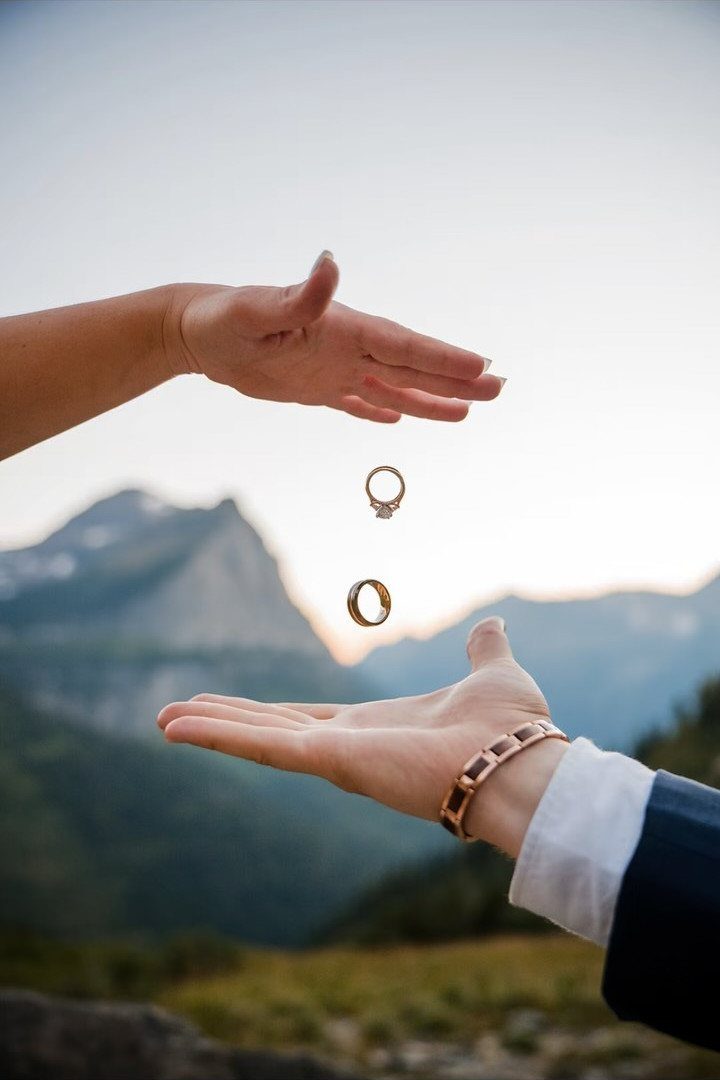
Rings tossed between 2 open hands give you a frame no posed shot can, and the fall is the whole picture.
Set the shutter to at least 1/1000 of a second so the rings stop mid-air, and hold down burst mode, because only a few frames in a run will land well.
Stand somewhere with open scenery, like the mountains here, so the background stays calm and the rings read against the sky.
Expect many misses, and toss over a soft surface or have a spare hand ready below.
25. Peeking from Behind Partner
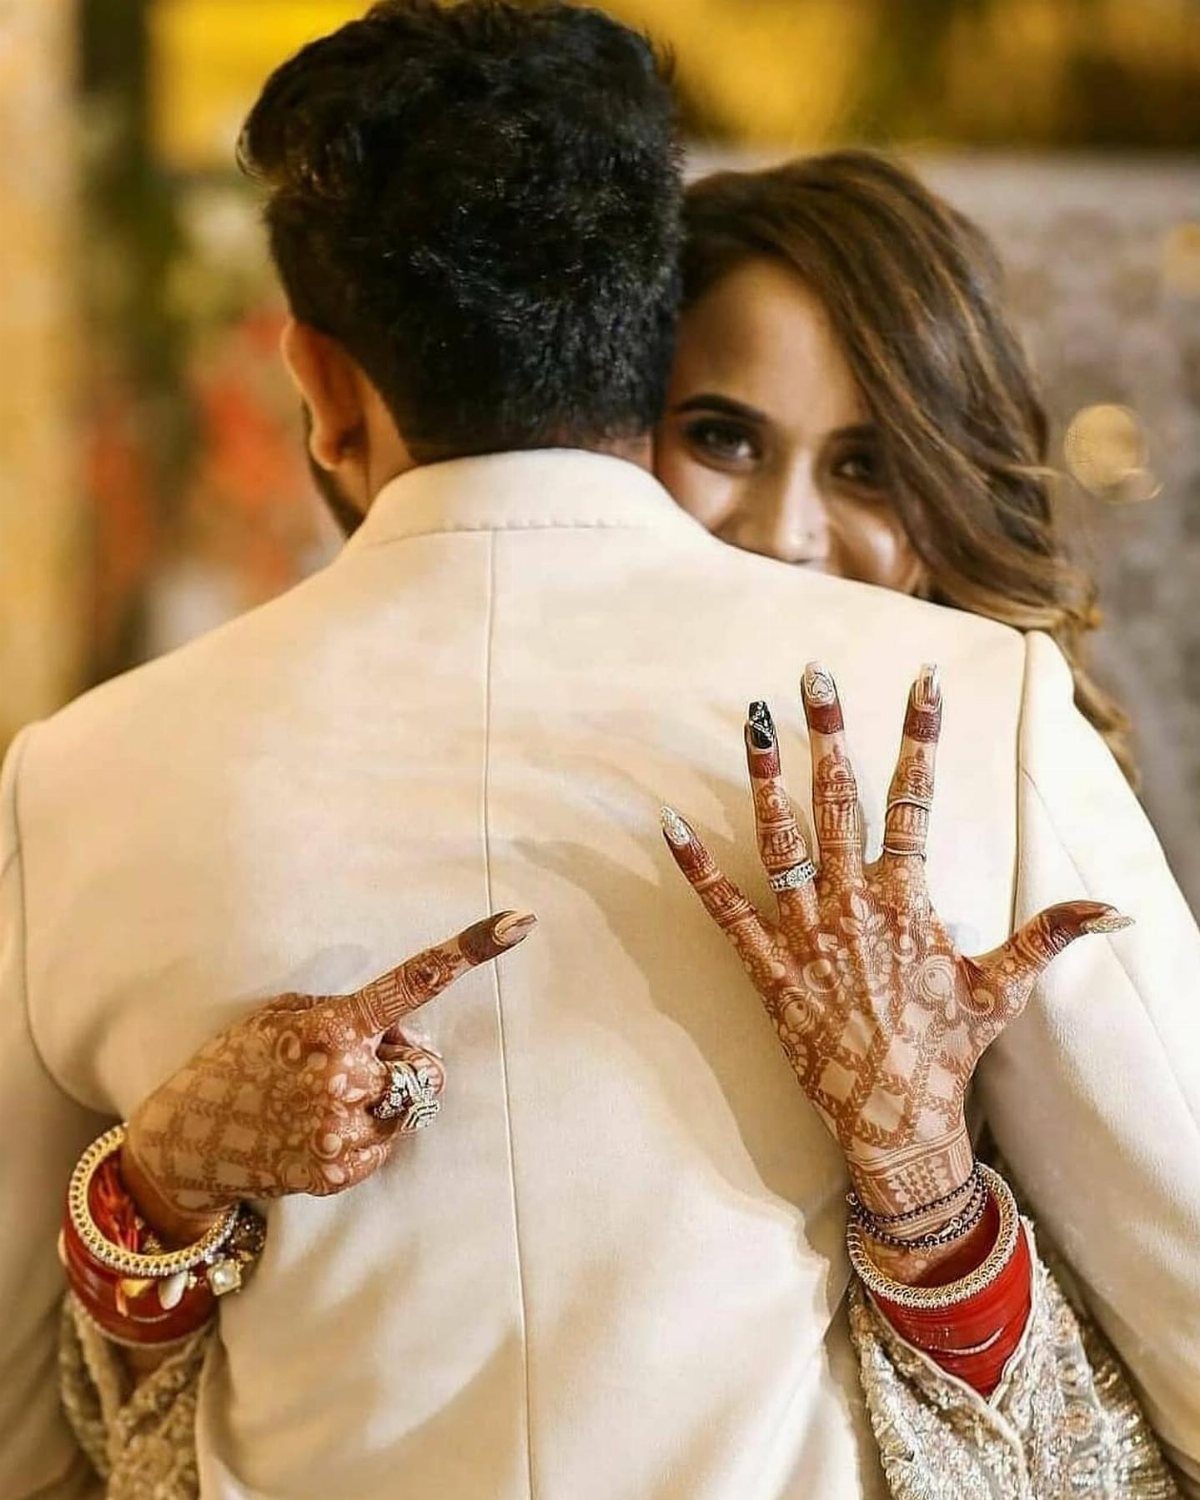
Both hands flat on a partner’s back, with a face leaning out past the shoulder, gives you a playful frame and puts rings on show.
A white jacket works as a clean backdrop, so the bands and any henna or jewelry on the fingers stand out.
Spread the fingers a little so each ring stays visible, and keep the hands level with the face so they read together. Focus on the rings, not the eyes, and let the face go slightly soft.
Shoot indoors near a window or other bright light, and take a few frames as she leans in and out.
Preparing for the Shoot
Sparkle starts at the sink.
Put on hand lotion a few minutes before the shoot; smooth, hydrated skin photographs better up close. Wipe off any extra lotion, though, because a greasy shine pulls the eye away from the diamond.
Nothing should compete with the one piece you came to photograph.
Taking Ring Photos with a Phone
A phone can do this job well if you control the light. Window light or open shade flatters a stone best; direct midday sun and overhead room lights cause glare and harsh shadows.
Tap the ring to set focus, then drag the exposure down a notch so the diamond keeps its facets instead of turning into a white blob.
I’d use portrait mode or the 2x lens, which flatter the hand and soften the background.
Angle your hand a little to the side and let the fingers stay loose; a flat, stiff hand looks tense.
Edit lightly. A small bump in brightness or clarity is plenty; a heavy filter can shift the stone’s color, and that is the one thing you can’t afford to get wrong.